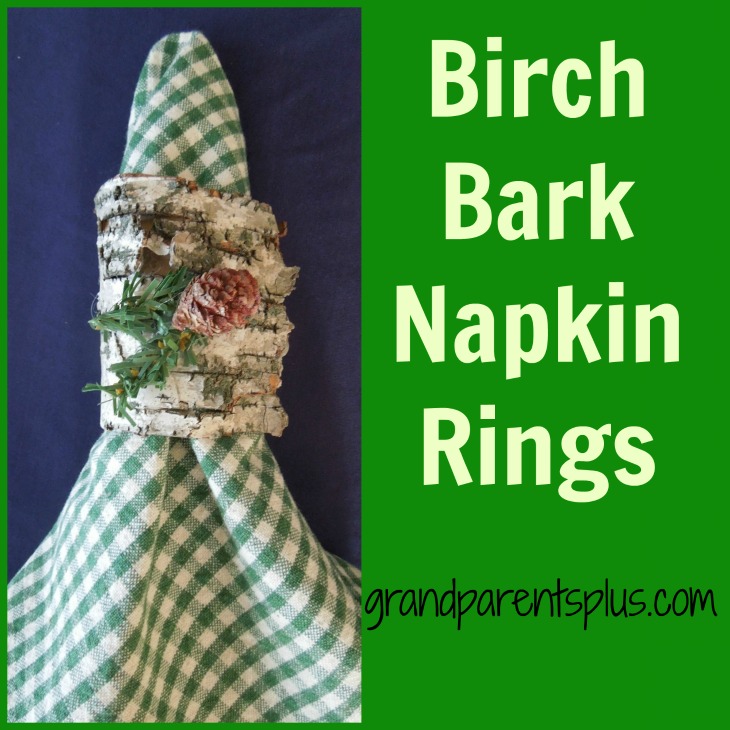
While planning my Christmas table for our Christmas Extravaganza at our church, I decided to do a “up-north cabin theme”. It needed some woodsy napkin rings and wanted to try to make Birch Bark Napkin Rings! We live in a wooded area so a short walk produced lots of birch bark from downed trees nearby. It was pretty dirty and stiff! If I tried to bend it, it would break.
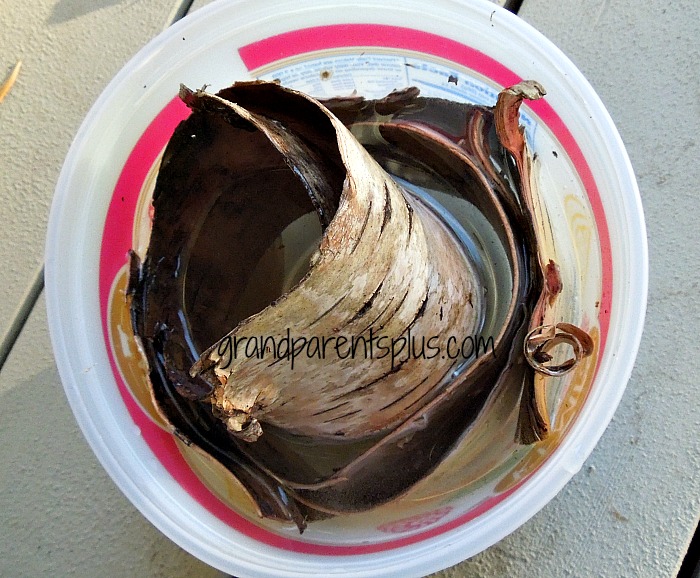
I came home and put the birch bark in bleach water. I wanted to be sure to kill any bugs, etc., that may be attached. Also, I scrubbed the inside of the bark and let it soak for 1/2 day.
After soaking, it was more flexible, but it was still hard to work with in such a flat state. I curled the birch bark and put it into a plastic container.
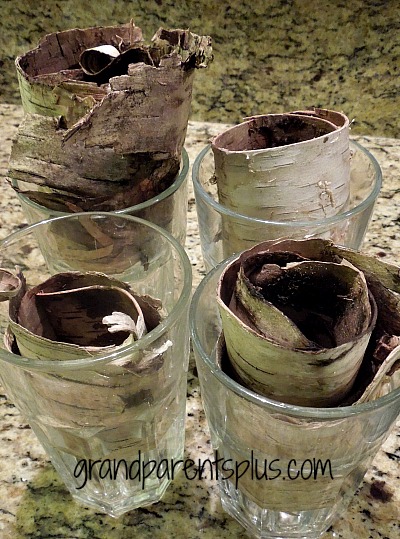
After a few hours, I transferred it to glasses so it would be curled even tighter and let them dry.
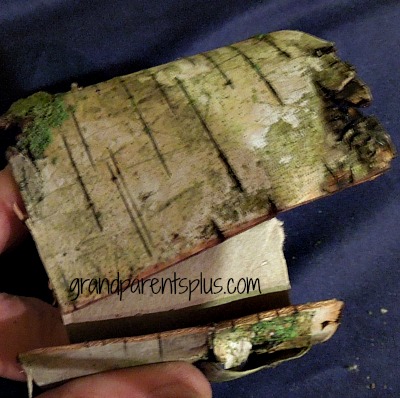
When they were workable (the next day), I cut them just a bit larger than the cardboard tube. I formed the napkin rings by hot gluing the bark around the tube. Doing it in small sections and securing with paper clips worked the best. Let a section dry and then do the next section while each time curling the bark around the tube. Be sure to cut it long enough to overlap quite a bit.
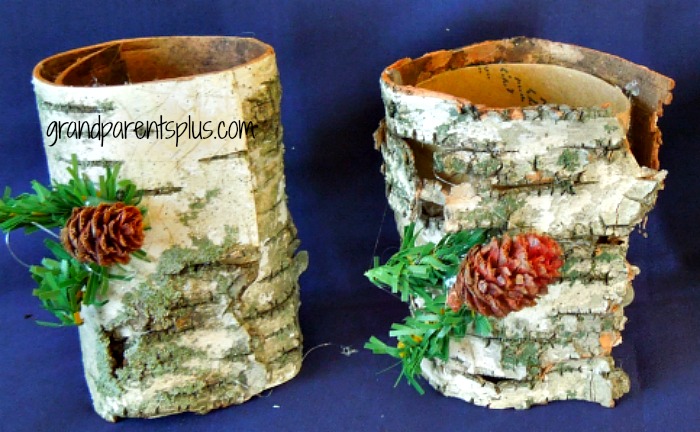
I love the green moss on the bark !
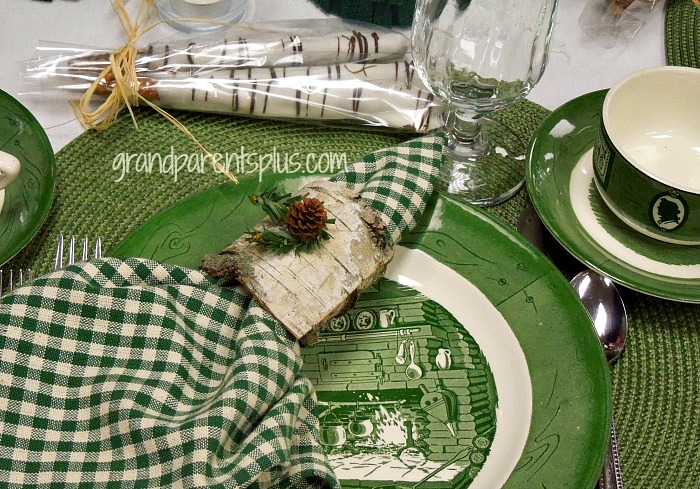
When dried, I added a little greenery and a small pinecone (bought these).
The Birch Bark Napkin Rings looked great on the “up-north” table setting!
Each one is unique!
You probably know this, but don’t take bark from a living tree. It will kill it! Use only bark from dead trees or cut logs!
Thanks for stopping by,
Phyllis
Complete “up north” table setting is shared on the post entitled “Awesome Christmas Table Settings – Part 1” along with many others. Don’t miss it!
A viewer referred to this post about harvesting Birch Bark.
For notifications on future posts, please subscribe, follow on Pinterest, or Bloglovin!
This post is linked to the following parties…….

13 Responses to Birch Bark Napkin Rings