I was wondering if kids ages 5-10 could handle doing DIY Ombre Tie Dye Shirts. I had a bit of apprehension about doing this with younger kids, but it was highly successful! I’ll show you some tricks about how to organize it and do it without a huge mess! There still is time to do this before the nice weather ends!
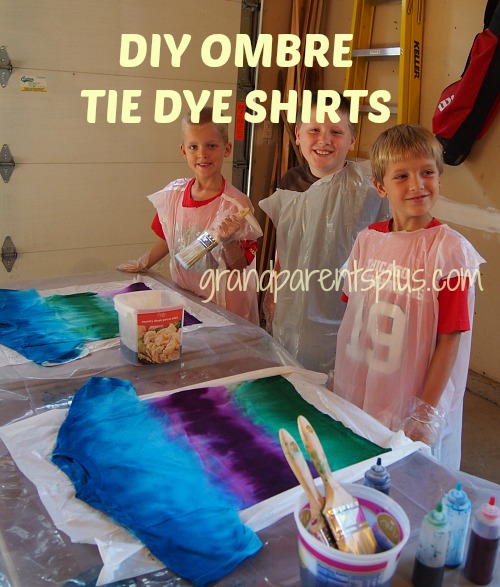
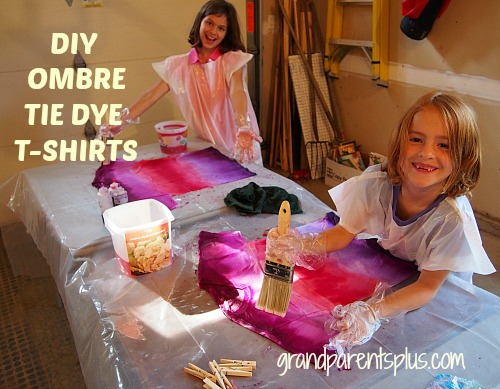
It is possible to do it outside, but I didn’t want to chance the wind, possible rain and bug factor. I set up the garage as our workshop. On the floor, I put a tarp. On top of the tarp went three card tables which I covered in plastic. I had three work areas and placed a plastic kitchen garbage bag at each place. On top of the bags went the damp t-shirts.
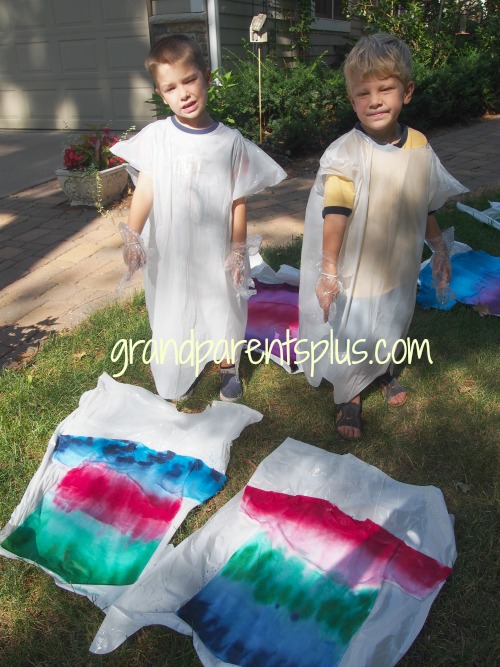
With more kitchen-sized garbage bags, I cut a hole for their head and two arm holes and pulled it over them so dye didn’t get on them or their clothes. It worked great! Between the work areas went a plastic container for the water and brushes.
With the kits came plastic gloves, rubber bands, and the dye. I used the Tulip brand dye. (I am not compensated for this post) The gloves were huge for the kids so I put a rubber band around the wrist of the gloves to hold them on. It worked well! I watched the video on ILovetoCreate for instructions on just what to do for making the DIY Ombre Tie Dye Shirts. I had the kids watch it before they started so they could see just what to do, too. The girls picked 3 colors and the boys picked 3 colors. In that way, I wasn’t wasting a color for just one shirt.
Once the dye was mixed according to directions, the fun began. I applied the dye for the younger kids and they spread it with the wet brushes. The older kids were able to do more for themselves. Just remember to hold the opened end closed with one finger until you get to the area that you want the dye. It tends to leak out quickly when it is slightly tilted.
 When they finished the shirts, it was easy to transfer to a drying area. By two people each taking an end of the garbage bag with the shirt on it, it was easy to move outside or to a special drying area. No need to do the back side as both sides absorb the dye. Remember, the shirt is very wet with dye and it takes a while to dry. The wait is worth it!
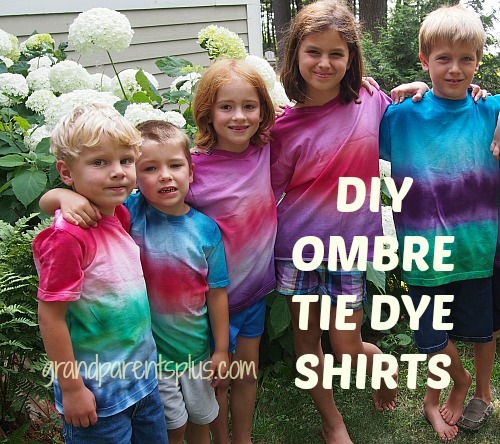
Yes, with some organization, younger kids can do this project. They were so proud of how it turned out! It was as nice as any shirt you would buy at a store.
Summer is ending, but tuck this idea away for future use or quickly do it on a nice fall day! This is one of the crafts that we did at our Oma and Opa Camp 2014. Watch for the entire camp post coming soon!
Have fun!
Phyllis
You may want to subscribe so you don’t miss future posts…..
Follow on Pinterest and Bloglovin, too! (see sidebar)
This post linked to many of the following parties……


Pingback: Summer Family Fun Party 8.12.15 | A Life in Balance by Barb Hoyer