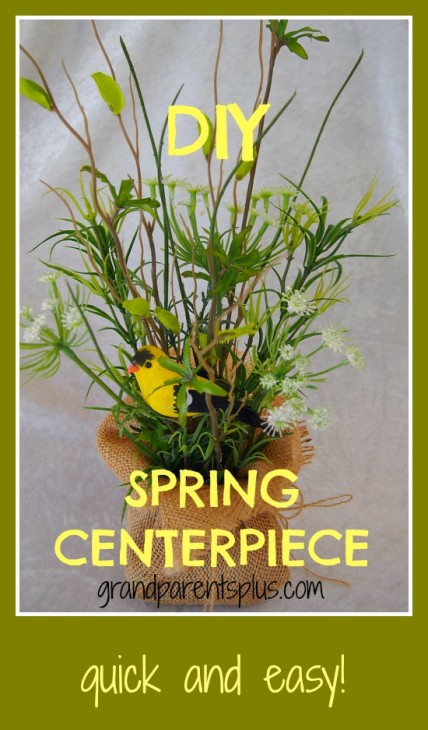
I didn’t have the right vase or pot, but wanted to make a DIY Spring Centerpiece! I had some burlap on hand so decided to use it instead of going out to find the right vase. It was more cost friendly anyway!
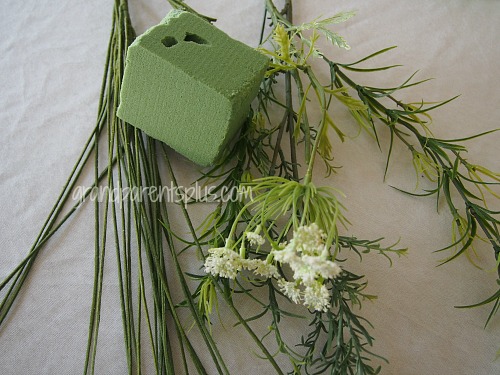
I started by cutting a square piece of floral foam around 3″ by 3″. Vary this size if you want to make it larger. I , also, had some artificial greens on hand with different textures and shades of color. OK, now to put it together.
Materials……
Floral foam
Variety of artificial greens
Burlap
Bird or butterfly (optional)
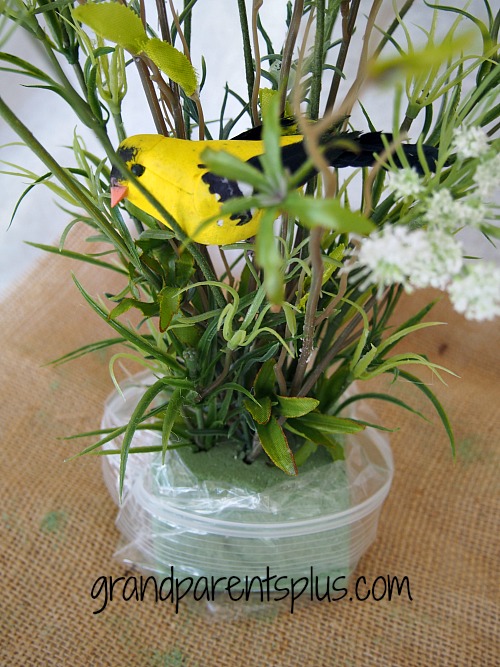
I just started cutting and poking the greens into the floral foam. Vary the heights of tall, medium and short. Start with the tall, add some medium and finish with short around the edges. Add a little bird, if you wish.
When it was full enough, I cut a large square of burlap. (enough to fold up and gather together ) From a larger piece of burlap, I pulled two strings to use as ties.
Place the floral foam base into a plastic bag. This will keep the floral foam from sifting through the burlap and making a mess.
This DIY Spring Centerpiece was quick, easy, and very inexpensive. When you see the cost of floral arrangements, it certainly saves money to make your own. Doesn’t it?
I needed a little touch of Spring on my side table. Quite a difference from the white snow background outside! Spring is sure slow to come this year!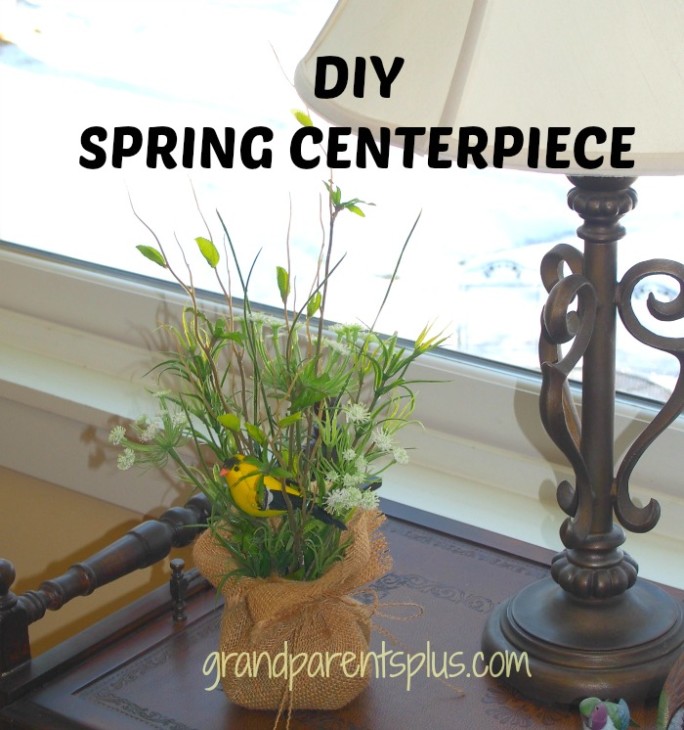
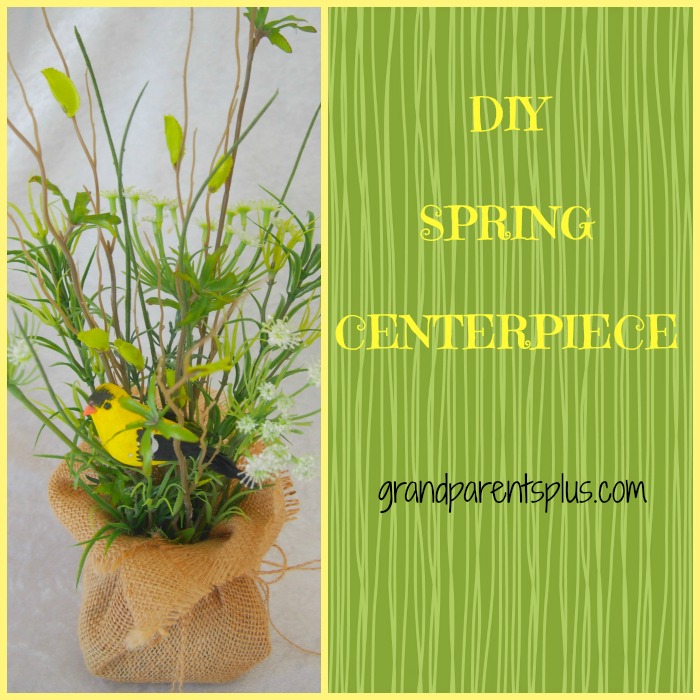
Try making your own DIY Spring Centerpiece. Make it any size to use as a centerpiece on your table or as an accent anywhere you need a touch of Spring!
If you make it larger, add a flat weight of some sort under the floral foam. Another idea is to add some small rocks or kitty litter inside the baggie to keep it anchored down. Finish off with the burlap covering it all.
Thanks for stopping by!
Be sure to subscribe on the sidebar for future post notifications!
Follow on Pinterest or Bloglovin, too!
Happy Spring!
Phyllis
This post is linked to some of the following sites….

19 Responses to DIY Spring Centerpiece