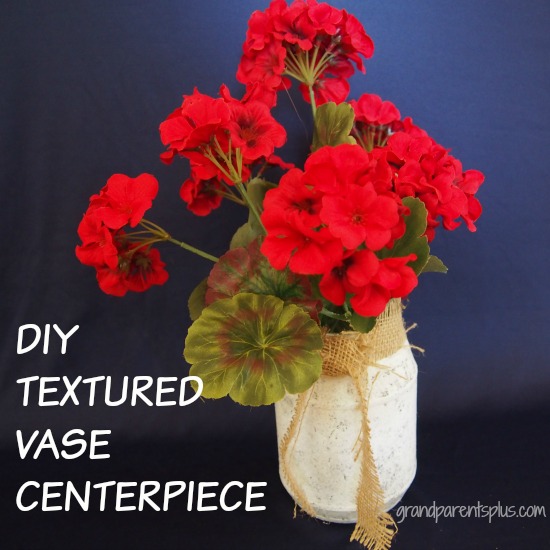
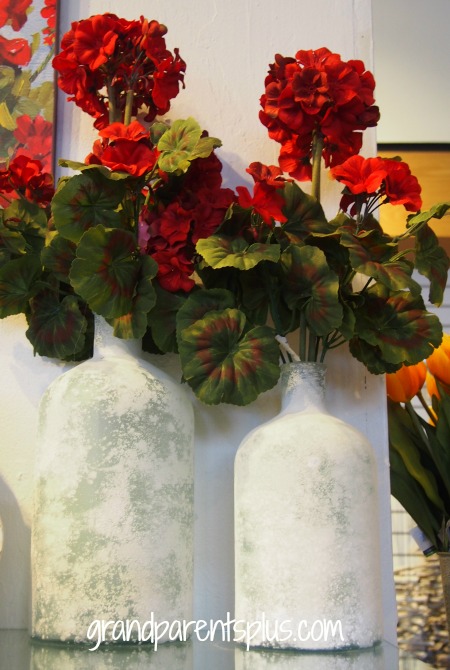
This DIY Textured Vase is a ” knock-off ” of a vase that I saw in a store. Looking at it carefully, I thought it would be easy enough to do myself instead of spending big money. The white color really sets off the red geraniums, but any color paint would work depending on your own color scheme. The best thing is this project cost me nothing since I already had the geraniums, paint, jar, and burlap. Don’t you feel good about a project that costs nothing?
Here’s the inspiration……
Materials Needed:
Glass Jar ,Bottle, or Jug (height depends on where you are using it)
White Acrylic Paint (if you want a lot of texture, use a little Plaster of Paris mixed in the paint) I just used the paint..
Acrylic Spray (optional)
Burlap
Flowers and Ribbon of choice
Directions:
I used a jar left from the Sauerkraut that I used in my Colorful Sauerkraut Salad. The jar had a pattern both at the top and bottom which I thought would make the vase more interesting than a regular Ball jar. Also, it was the right height for a table centerpiece.
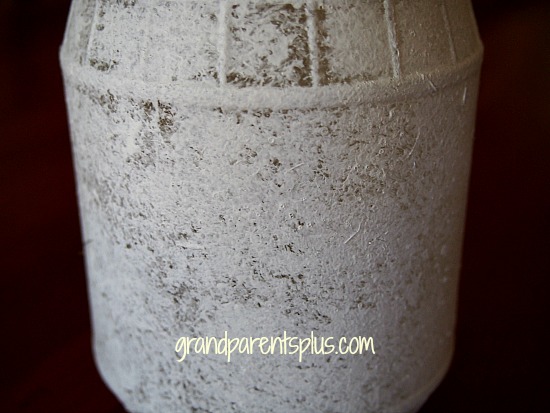
Using a bit of cheap burlap ribbon, I dabbed it into the white paint. I wanted to control the amount of paint so I also dabbed the burlap on newspaper until it had less paint. With minimal paint, the holes on the burlap show and make the texture. Do as little dabbing or a lot. When you get your desired look, let dry. Apply acrylic spray, if desired.
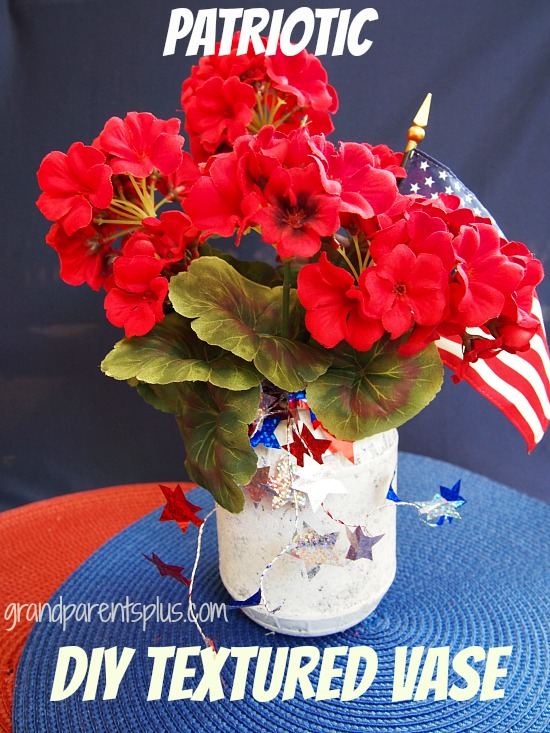
I added the red geraniums to make a centerpiece for my table.
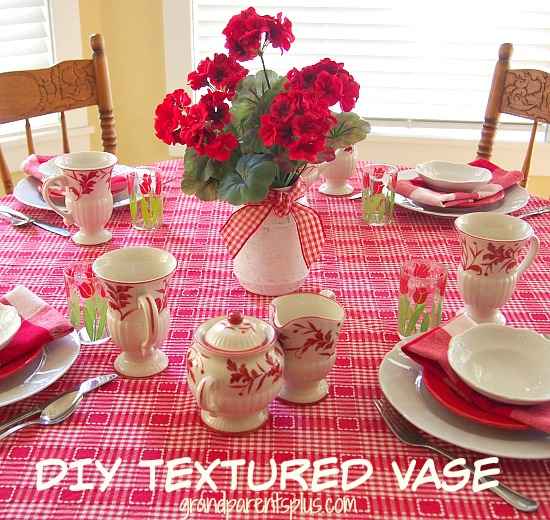
It’s just the right size for my red and white tablesetting.
This is the same textured vase with a Patriotic look. Great idea for Memorial Day or 4th of July centerpieces!
This DIY Textured Vase project doesn’t take long to do. The drying time is quick, too! Now, start looking for interesting jars and make one for yourself. Did I inspire you to try?
Enjoy!
Phyllis
You may want to subscribe so you don’t miss a post. I don’t share or sell your emails.
Follow on Pinterest and Bloglovin’, too.
This post is linked to many of the following parties….


14 Responses to DIY Textured Vase