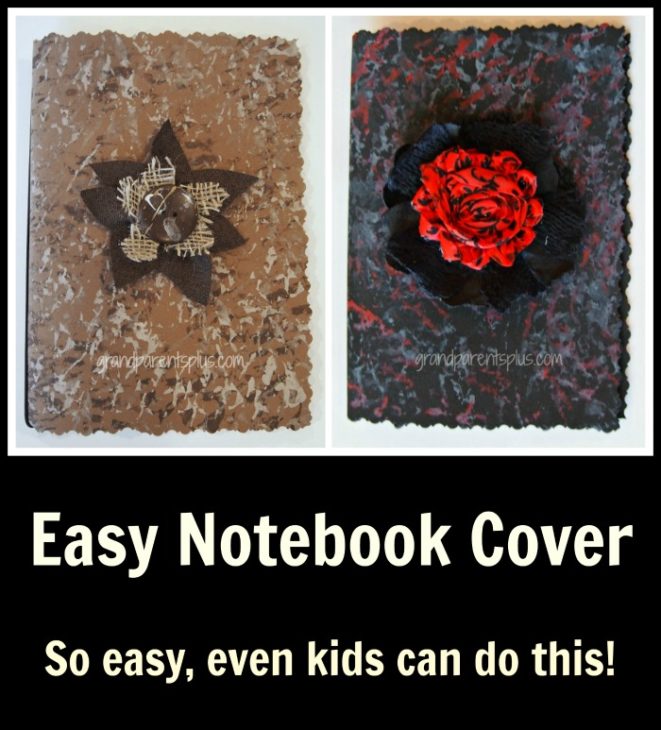
This Easy Notebook Cover idea is so easy, yet it looks amazing! It is simple enough for kids to make while adults can make this elegant looking. It makes a lovely special gift, too. Materials are easy to find and very inexpensive.
Materials needed:
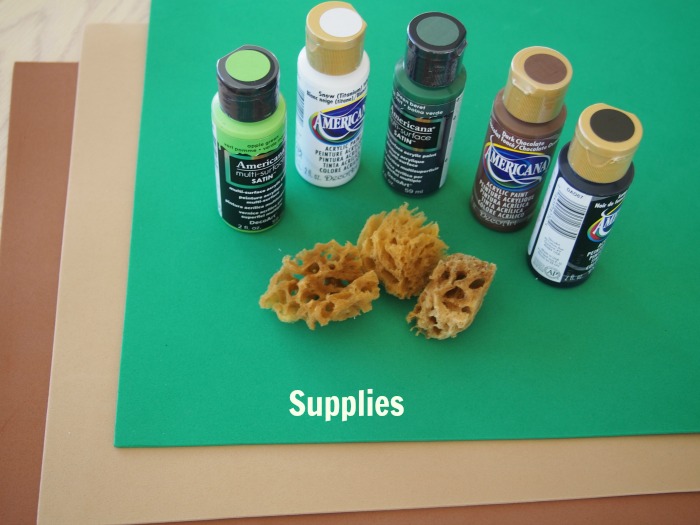
- Natural Sponge –
- Acrylic Paint – 3 shades or colors
- Fun Foam – choice of color
- Decals, Stickers, Artificial Flowers, Buttons, Felt, Permanent Markers, or any Semi-Flat Decorative Objects
- Glue Gun
- Round Elastic
- Notebook – any size, but I prefer journal-size (without a metal coil) I found ones at Walmart for under a $1.00
First, lay the notebook open on the Fun Foam and measure around it leaving an extra 1/4 in – 3/8 in to cover completely. You may use a regular scissor or a decorative one to cut out the cover. (For small kids, I did this part ahead of time.)
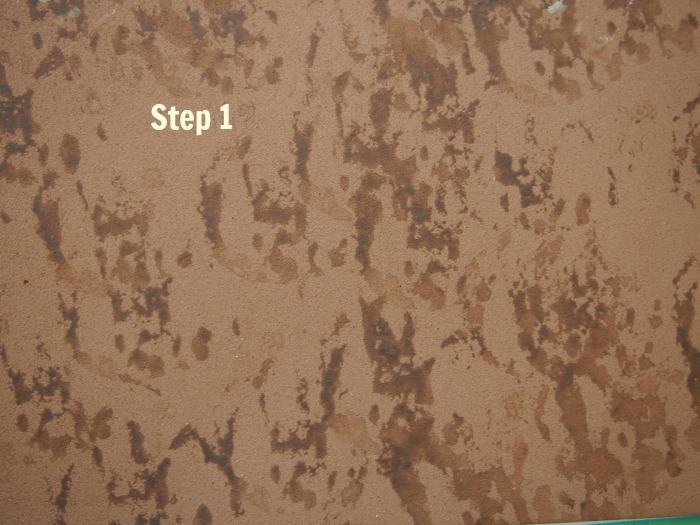
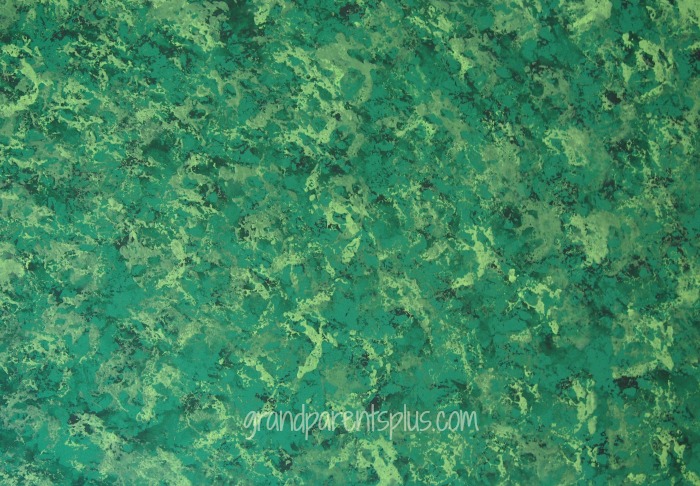
Next, with the Fun Foam laying flat, lightly dip the sponge in a dark color. Dab it on newspaper a couple of times so your paint is very light on the sponge. Now, dab the paint over the sheet of Fun Foam. Be sure to leave spaces for the other colors. Let dry in between colors.
With a lighter color (you can mix just white with the base color), continue dabbing the paint onto the Fun Foam.
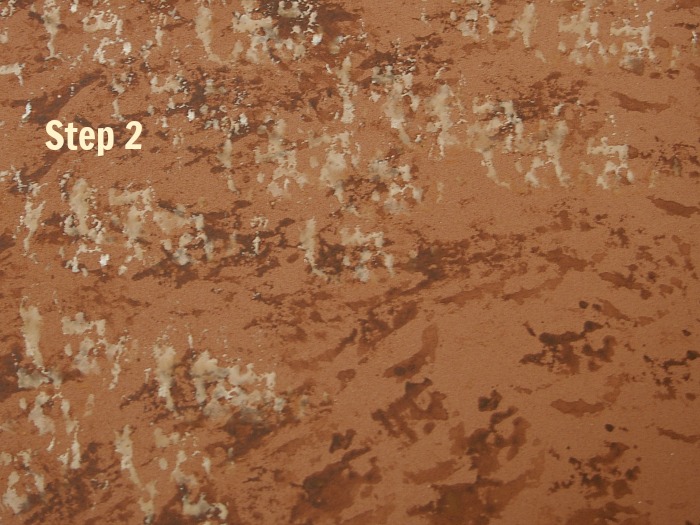
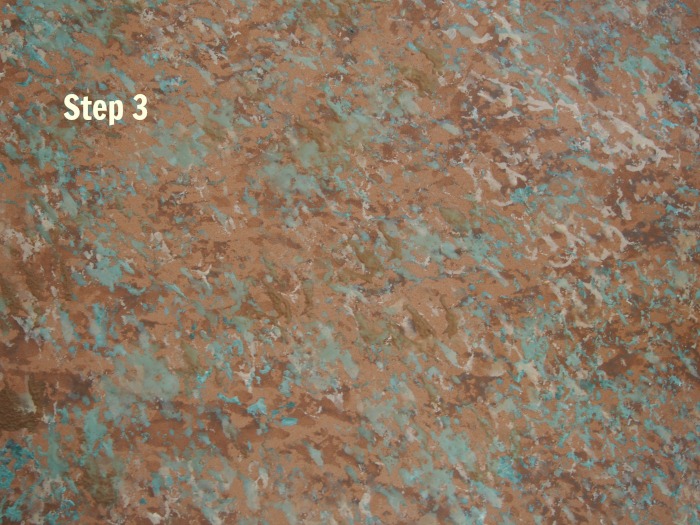
Using an accent or third shade, dab again over the Fun Foam sheet and let dry.
This project used one color of acrylic paint. Start with the dark color and apply. Add white to lighten and sponge the paint again. Finally, lighten even more for the third step.
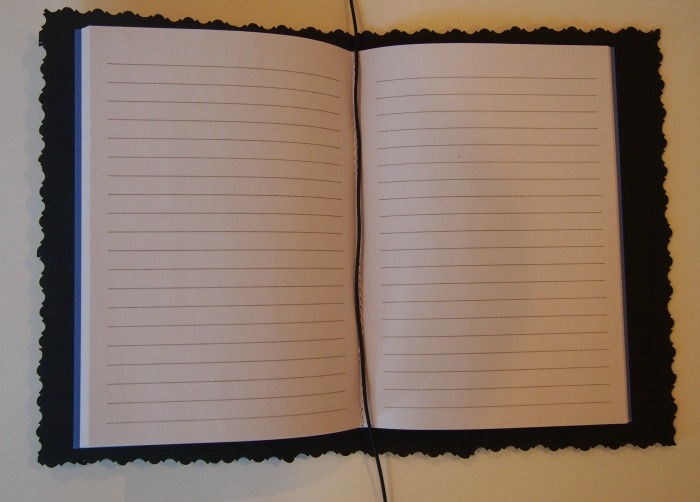
Finally, when you have reached the way you want it and it’s completely dry, fold the Fun Foam over the notebook. Use black elastic to keep the cover in place. Place the elastic in the middle of the pages in the book and around the outside cover. Tie a knot in the elastic and slide the knot inside the notebook so it is not noticeable.
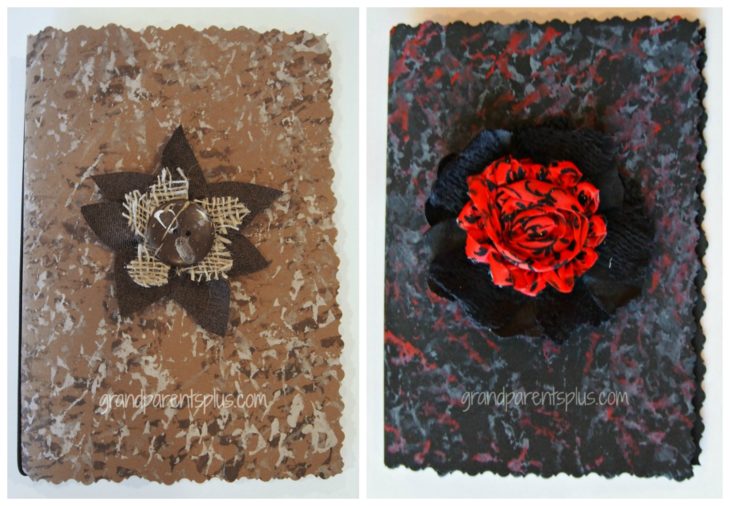
At last, decorate the cover with stickers, artificial flower, feathers, etc. It works best to have the decorations fairly flat on the cover.
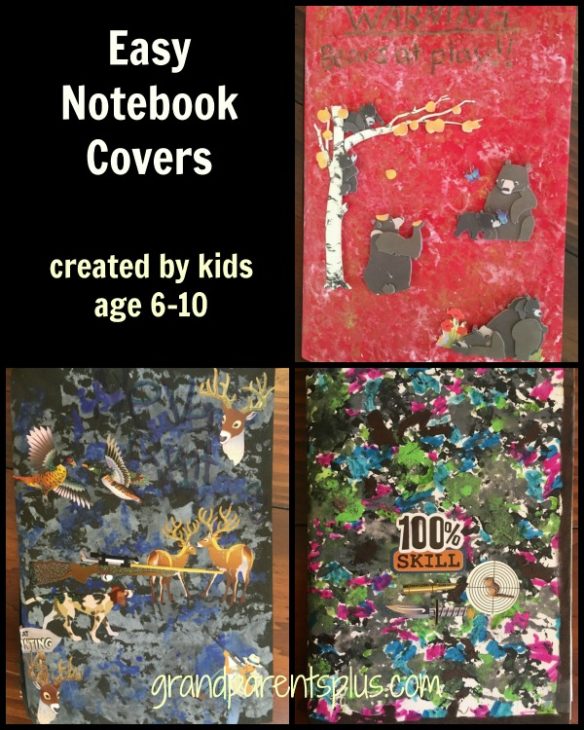
These Notebook Cover samples were made by my grandchildren. The foam colors they started with were red, black, and white. Stickers were applied after the paint dried. Using a black permanent marker, one child made a black border around the edge. Their choices were entirely made by them.
As I said, this project isn’t just for kids. You can make this elegant, too. It makes a great hostess gift or sell your creations at a craft sale.
This Notebook Cover was one of the crafts I did with my grandchildren (ages 6-12) at our Oma and Opa Camp this past summer. They really enjoyed making them. But remember, this is not just for kids!
Enjoy!
Phyllis
When you subscribe on the sidebar, remember that I don’t sell or share your email!
Follow on Pinterest, too!
….linked to the following parties.….

