Cheesy Pockets

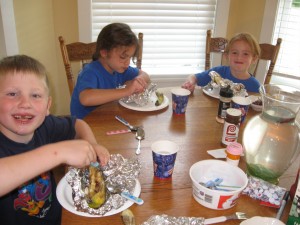
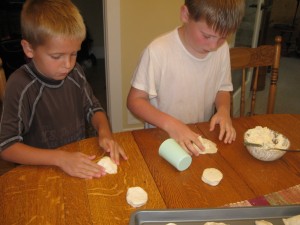
This recipe is one that kids can help put together. Because I didn’t have enough rolling pins, I used small glasses with smooth sides and they worked well. They can also just press out the circle with their hands.  Make the circles at least 3 1/2 inches in diameter.

Cheesy Pockets with Turkey, Ham or Chicken

2 oz. cream cheese, softened

1 tablespoon mayo

1 tsp Dijon mustard (optional)

Deli meat (turkey, ham…) finely chopped ( I used canned chicken, drained) Add a scant 1/2 cup

1/3 – 1/2 cup shredded mozzarella cheese

1 can refrigerated biscuit (10 biscuits)

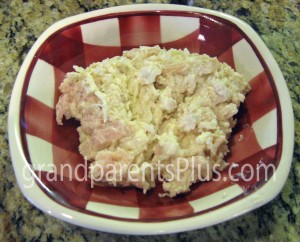
Preheat oven to 400 degrees. Mix together cream cheese, mayo and mustard. Add well-chopped turkey or other meat and cheese; mix well.

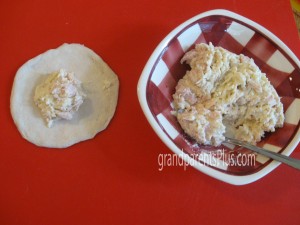
Press or roll out each biscuit circle to 3 1/2 inches. Place one heaping teaspoon cream cheese mixture in the middle of each biscuit circle.

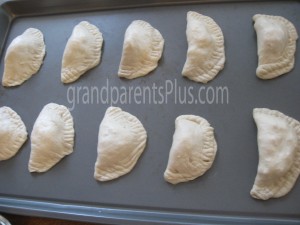
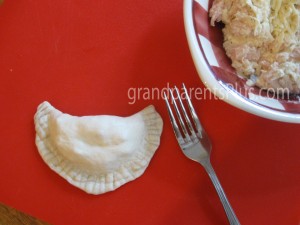
Fold dough over filling making a small turnover shape and seal edge by dipping finger in water to seal and press the edges together. Use a fork to crimp edges. Be careful not to poke a hole in the dough!

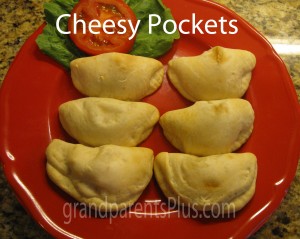
Place on ungreased baking sheet. Bake 10-12 minutes or until lightly browned.

Even the picky eaters liked them!

These would make great appetizers, too!

Enjoy!


Posted in Recipes | Tagged , , , , | Leave a comment

Suncatcher – Melted Beads

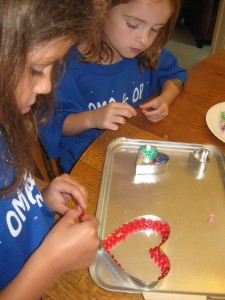
This melted bead craft worked so well with ages 5 yrs and up! In fact, I liked making these myself for my garden! Only drawback is the melted plastic does give off a plastic odor in the house so do it on a day where you can open a window.

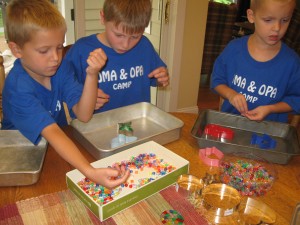
I used different shaped metal cookie cutters with the kids. I had cars, planes, and animals as well as hearts, flowers and circles. You can also use a muffin tin and just put the beads in there, too. The, cookies cutters that worked best were the ones without many sharp corners as it was hard for the kids to get the beads into those little places. Putting smaller beads into the corners might have worked.

Place the cookie cutters on top of a metal pie plate, cookie sheet, or cake pan. Fill with the plastic beads making sure that all the beads are touching each other, but only one layer.  It doesn’t matter if the beads are sideways or flat. They will still melt the same.

Place the tray in the 400 degree oven for 20 minutes. Watch to see that they are all melted before taking out. Let cool and they will pop out quite easily. To hang them, drill a small hole in the top and thread with fishing line.


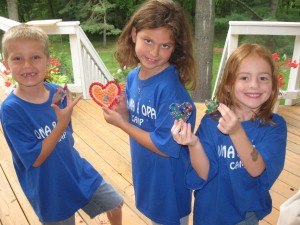
 All the kids loved how they turned out and wanted to make more than one!

Check out www.craftster.org as this inspired me to try it.

Posted in Crafts | Tagged , , , , , , , , , | Leave a comment

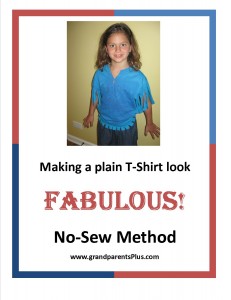
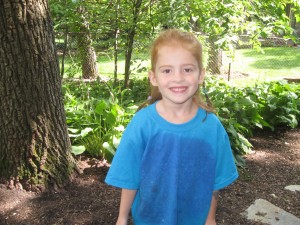
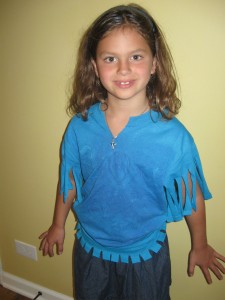
Making a plain T-Shirt look FABULOUS! No-Sew Method

Take one T-Shirt  ( It needs to be a bit large on you)

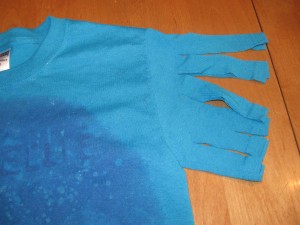
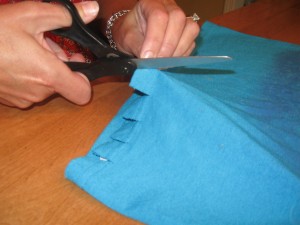
Cut the sleeves in approximately  3/4 inch segments. Cut through both sides at the same time.

On the hemline of the T-shirt, cut 3/4 inch slits along the front side only.

Cut a “V” in the front neckline.

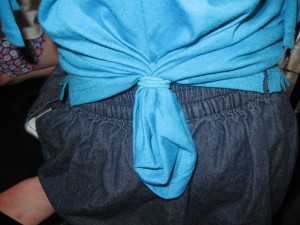
When wearing, gather the back and secure with an elastic hair band.

Now you have a darling feminine-looking T-shirt !

So cute and easy! Looks fabulous! Now you try it!


Posted in T-Shirt Ideas | Tagged , , , , , , , , , , , , , | 1 Comment

Best Christian Music for Children

The following list has songs and sites that I recommend for Christian children’s music. The songs are upbeat, singable and have great lyrics with a message. These are great to play in the car, at home or give as a gift. I will update this periodically.

Amazing Wonders Aviation by LifeWay – VBS 2012  Song Titles: “Remarkable”, “If God” ,”A-M-A-Z-I-N-G”, “Worthy”, “In Your Power”   www.lifeway.com  Amazing Wonders Avaition is a VBS curriculum, but you can order just the CD’s of the music. by Jeff Slaughter. Found a link on YouTube with all the words and motions for the songs. Check it out! http://www.youtube.com/watch?v=e9w8zVFpFTg&list=PLMntuwhil8rk575K5EsKE22y0v34_JES6   From this link you can find all the other songs as well.

Also from LifeWay : “Made for Praise Volume 10″   Link here for great praise songs for kids.


Brentwood-Benson Publishing    www.brentwoodbenson.com     Jeff Slaughter has done it again in the Around the World VBS by Brentwood  – Benson  for 2013! His songs can be previewed on this site: https://www.youtube.com/watch?v=_2N1yP78Hfk  You can order the separate music CD from the VBS curriculum.


Songs by Group Publishing   www.group.com  You can also download songs for $.99 from this site. Just click on the song title to listen to a sample of it. Group also has VBS curriculum CD’s which you can order separately. Sky (2012 VBS) is one that I recommend. It has a wonderful version of “Indescribable” plus lots of other great songs! Last year’s VBS CD’s was Pandamania. From that VBS, I loved the songs “God is Listening”, “He Knows My Name”, “No Greater Gift”, and “How Great Thou Art”!

Update: New CD available : Shine! Greatest Hits CD & CD-ROM   They have a preschool CD, too!

Songs from Willowcreek Church    www.promiselandonline.com  Click on the CD name Make Some Noise  and they have some of the motions to the songs as well.

Integrity Music has several CD’s for kids. Go to www.integritymusicdirect.com and click on music and kids. You can preview the songs on the CD’s by clicking on the CD picture. I wish all sites had this feature!

Great Big God 1, 2, &3 plus other children’s cd’s from www.vineyardmusic.com  Be sure to go to the Children’s Curriculum section and then to “music”.  Great Big God 1 is out of print, but you can download the individual songs  as MP3’s. I especially like (and so do the kids) “Great Big God”, “No Other God”, “God You’re Good to Me”, “Father God” and “I Give Thanks.” from that album.

www.seedsfamilyworship.net has children’s music CD’s with scripture songs. Go to “store” to find them. The songs are wonderful and certainly useable for adults to memorize scripture as well. There are 6 volumes and each package has 2 of the same CD. One is to keep and one is to share. I have given the complete set to each family for listening in their car. This site has other resources for families, too. Check it out!

Hill Song has great kids music, too! Go to http://www.youtube.com/watch?v=G689PlEXiXk  to hear “One Way” plus check out their other songs. You can go to Amazon and listen to a sample and download an MP3 version for $.99. I especially like “Every Move I Make” from the “Shout To The Lord” CD.

Another great tool is to learn some sign language for some of the words to the songs. Go to http://commtechlab.msu.edu/sites/aslweb/browser.htm-29  and there they have a video demonstrating how to stay a word in sign language. Just click on the word that you want to sign and the video will come on for it. You can replay it over and over to learn it. Kids love to do this!

Watch for more updates!

Update:

Go Fish has some great songs from their 2013 VBS called GOTTA MOVE!

Go to:https://www.youtube.com/watch?NR=1&v=hyBmPOlPWNA&feature=endscreen

This video is the song about the Fruit of the Spirit. It will give you an idea of their music!

For their CD selection,  go to www.gofishresources.com

or www.gfguys.com

Check out “I’ve Got the Joy” , “Ten Commandments and “This Little Light of Mine”. They have very different catchy tunes and upbeat rhythms.


Posted in Children's Music, Misc. | Tagged , , , , , , , , , , , , , , , , , , , , | 2 Comments

Oma and Opa Camp 2010


Oma and Opa Camp – 2nd year

Theme: Animals

Field Trips: We had two trips planned for this camp. One was to the local zoo and the second was a morning spent at the Isanti County Fair. Both places had lots of animals which fit with our theme. We like the County Fairs because they are smaller and the kids can see the animals closer up without the big crowds. The Isanti County Fair has a kids morning with lots of games and prizes and other attractions – all free! Check with your County Fair to see if they have a special day for kids.

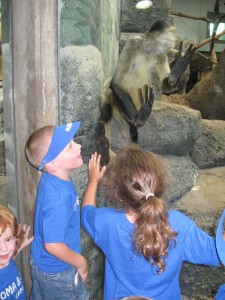
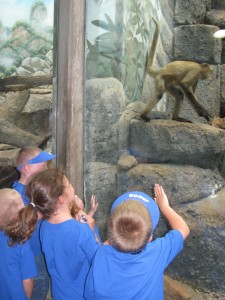
Visiting the Como Zoo!

The monkey house was a favorite.


Up close to the animals


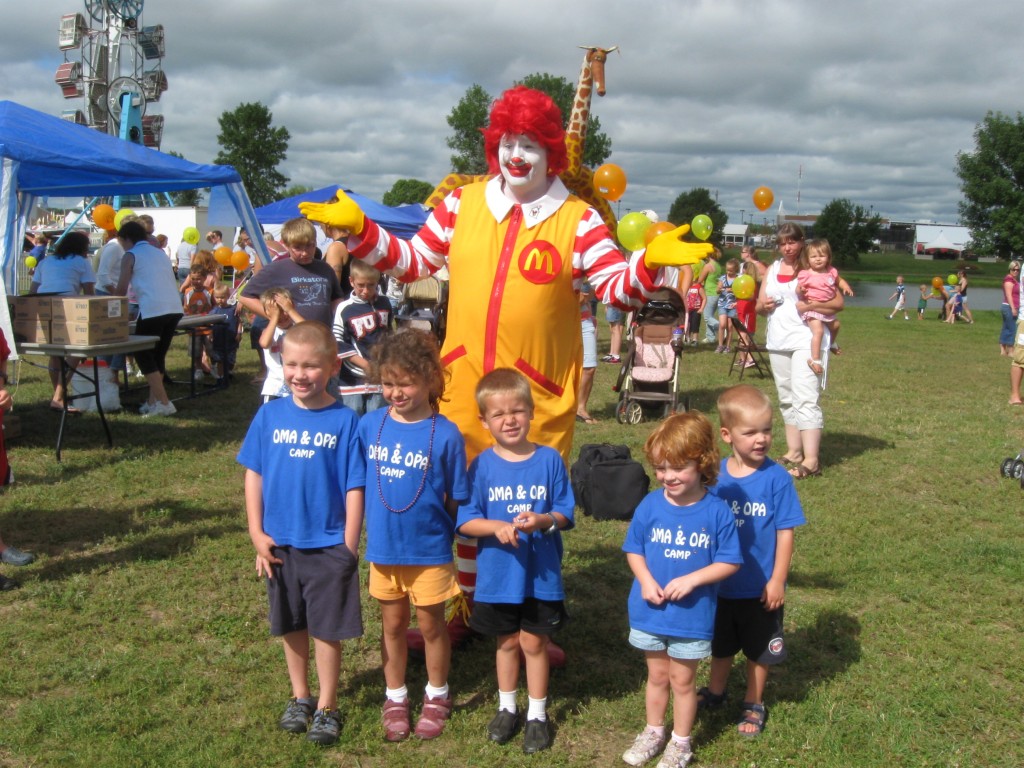
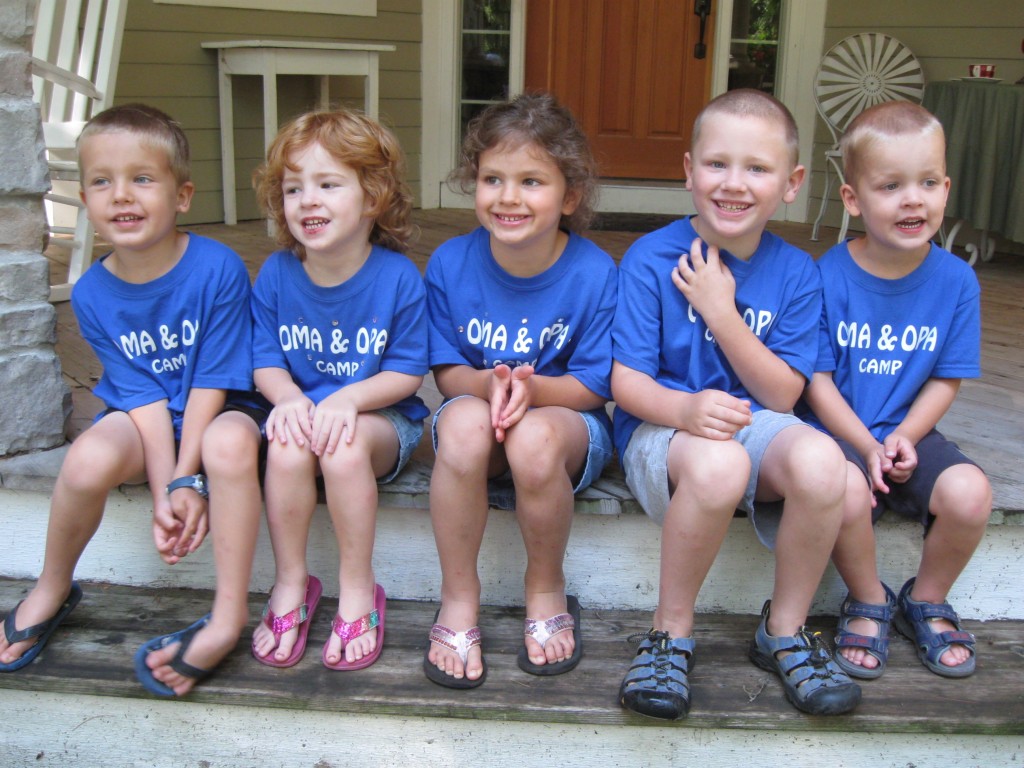
Everything at the fair was fun for the little kids to do. They collected their prizes in bags that I had given them. Their Oma and Opa shirts were easily spotted and caught many people’s attention – even Ronald McDonald who wanted a picture.

They posted the picture on the bulletin board at the local McDonalds in town.

Hint: Whenever you take trips, pack lunches and treats. It saves time and money!

Bible Story: Daniel in the Lions Den. We talked about how Daniel chose to serve God even when it was difficult. God saved him from harm in the lion’s den by closing the lion’s mouths so no harm came to Daniel. We also need to choose to serve God and obey Him even when others make bad choices. Following the Bible story, we sing a blessing to the grandkids. It is the chorus from a Signature Sound Quartet song that says, “God give this child a good heart. God give this child a good heart – one that cares for the weak, hears when you speak, one that will make you smile. God give this child a good heart.”

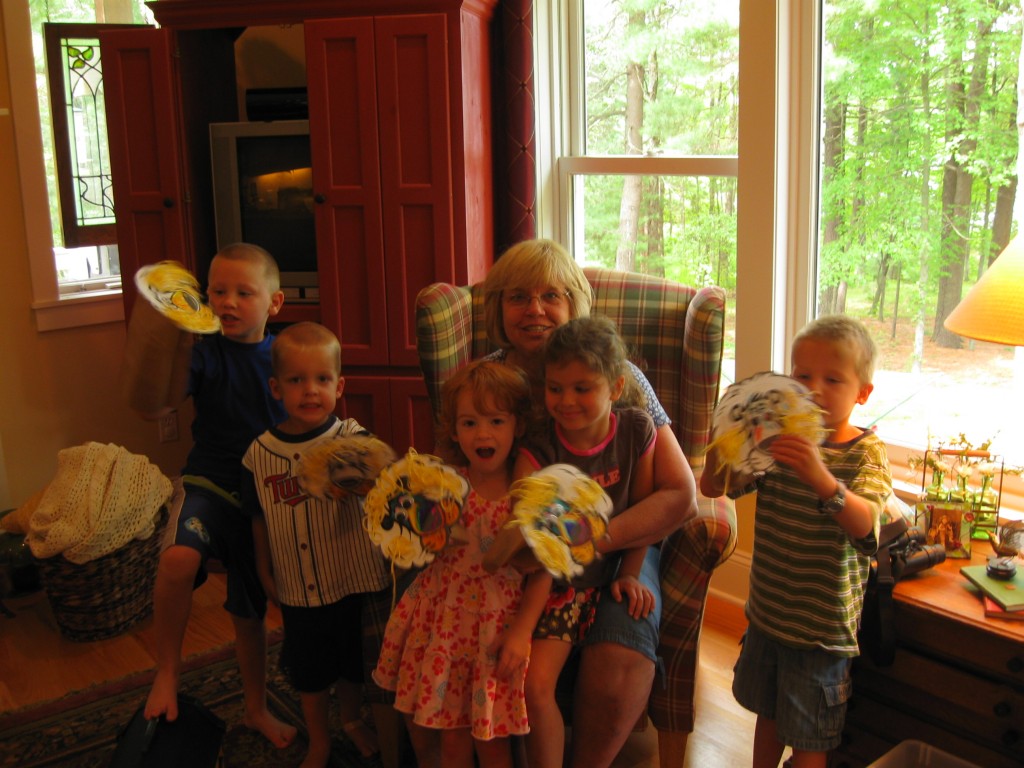
Crafts: Besides the crafts at the County Fair, the kids made lion puppets to go along with the Bible story. They were paper bag puppets and they embellished the faces of the lions with yarn for the manes along with large google eyes.

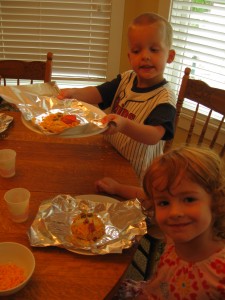
Food: For lunch, the kids made “lion” sandwiches. We took lightly toasted English muffins and covered them with mozzarella cheese. Around the edges of the muffin, they put cheddar cheese.(the lion’s mane) They added sliced olive eyes with nose and mouth made from a carrot slice and curly carrot strip.  We then put them in the toaster oven and baked them until the cheese melted.

      Lion Sandwiches

 Making omelets:

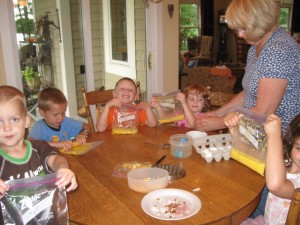
Another meal that the kids made themselves was omelets.Take 1 egg, 1 T water and put into a freezer ziplock bag. Add bacon, sausage, cheese, or any other ingredients that you like in your omelet. Be sure to close the ziploc bag and then mix the ingredients by kneading the bag. (FUN PART). Mark each bag with a permanent marker and place in boiling water for 13 minutes. Use a large pot of boiling water and place only about 5 bags in at a time. Remove from water, open and slide the omelet out on a plate. YUM!

                    Omelet Making


They couldn’t believe that they made it themselves!

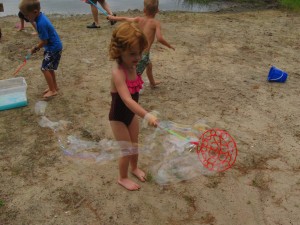
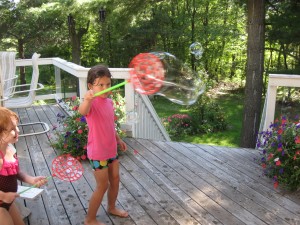
Activities: At the age that they all are, it seems that bubbles are still a big hit. The recipe for homemade bubbles is this-

Bubble Recipe

2 cups Dawn (or Joy if you can find it)

6 cups warm water (Distilled is even better)

3/4 cup white Karo syrup

Mix gently in large container and keep lid on for 24 hours.  I use a large flat plastic storage box. When the kids use it, they can dip in it, but it never spills. Replace lid and store for the next time.


These bubble wands come from the Dollar Tree store.      Throw away the pans that come with them and use the tub.

Bubble Fun!


Other activities included using the water squirters from Dollar Tree, backyard tag, and Duck, Duck, Grey Duck. On hot days, use a paper cup with water for Duck, Duck. The person that is “it” carries the water and sprinkles each person and says “drip, drip” and then “dump” the water on the one that is supposed to chase them.

After a big day, the kids get to take “glow-stick” baths. Darken the room somewhat and put glow sticks in the tub water. It looks great!

All in all, it was another great year of Oma and Opa Camp!


Posted in Kid's Camp, Oma and Opa Camp 2010 | Leave a comment

Oma and Opa Camp 2011

This was the third year of Oma and Opa Camp (grandma & grandpa) so the kids knew what to expect so were very excited to come! One grandson said, “I’ve been waiting all year for this!”
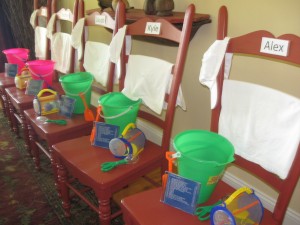
Each child has a chair on which to put their crafts, etc. Under the chair goes their shoes and on the chair is their outfit for the next day.


Once again we went over what was going to happen and how they could keep their crafts, clothes, etc. all together in their assigned place. (hopeful thinking)

The theme this year was “critters” (bugs and butterflies). Each chair had a bug cage and tongs for catching them. They spent lots of time finding interesting bugs and butterflies!
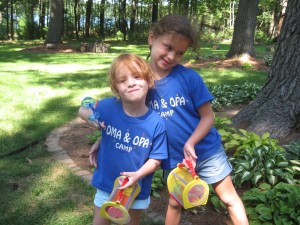
 

No one was afraid to pick up the bugs
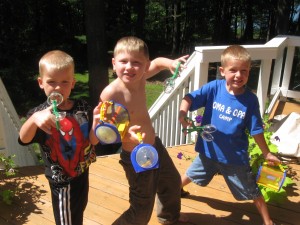
with their handy dandy bug catchers!


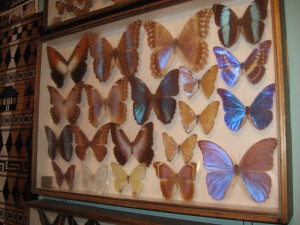
One of our friends has a massive collection of bugs and butterflies from all over the world. It worked perfectly with the theme to schedule a time where we could see his collection.  They spent a lot of time asking questions about  where you would find these bugs!

The butterflies were stunning with all the colors. Each child tried to pick out their favorite, but there were so many you couldn’t pick just one!
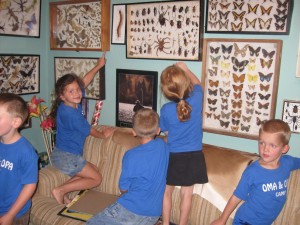
Along with all the real butterflies and bugs, they made bug puppets. I found a print out for the heads, antennae, etc. on www.Orkin.com. They had fun creating them.
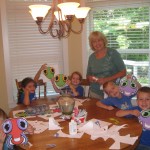
 

BUGS!


Mealtime can be challenging when you’re busy directing all the activities. Having kids involved in the preparation has helped a lot. Not all meal items go with the theme, but I called the pizzas that they made, “Bug-Eyed” Pizza! Lightly toast an english muffin half. Have the kids spread the pizza sauce on top. Add their choice of pepperoni or sausage. Top with mozzarella cheese and then top with a “bug-eyed” face! They used red pepper for the smile and pepperoni with olives for the bug eyes. The nose was a little carrot. I put them on tin foil so I could easily transfer them to the oven and bake until the cheese melts. It was a meal-time hit!
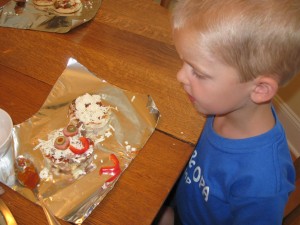
 Bug-eyed Pizza!


Making and eating banana boats!


Banana Boats were also a hit for dessert!

Peal back the top of the banana ( do not remove) and scoop out a small amount of banana. Fill with chocolate chips (or any flavored chips). Put miniature marshmallows on top and replace the banana peel. Wrap in foil and put in oven or lay on grill for about 15 minutes. YUM!

Hobo dinners can be made with cooked hamburger or chicken (their choice), slightly cooked potato slices or cubes, onions, butter or oil, teaspoon of creamed soup, vegetable of choice and cheese on top. Spray the foil and add ingredients that they choose. Enclose foil and place on baking sheet on grill for about 15 minutes. Because they choose the ingredients, they like to eat it! It is a meal all in one! Another hit!

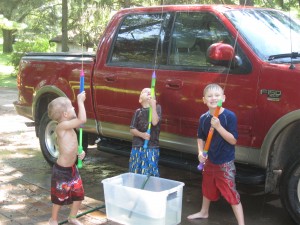
One of the favorite things to do is use the water shooters. The ones I found at Dollar Tree are the easiest to fill and shoot. They are so cheap ($1.00) so each year I stock up on some. I put water in a big plastic bin and throw in some warm water so that it takes the chill off when they shoot each other. They have loads of fun with these both in the lake and in the yard.
Tie-Dye was another one of the crafts. I used already mixed dye which I found at JoAnne Fabrics. You just poured the color on wherever you wanted. We did this outside over a bucket. I had plastic gloves for the kids and myself. It was easy to have one at a time doing this while the others played together or hunted for bugs. They did both the hat and the shirt for a complete look! They loved the results!
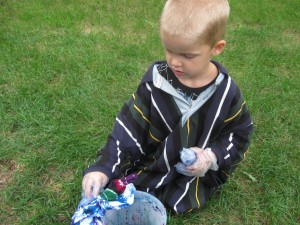
Don’t forget the paint shirts!
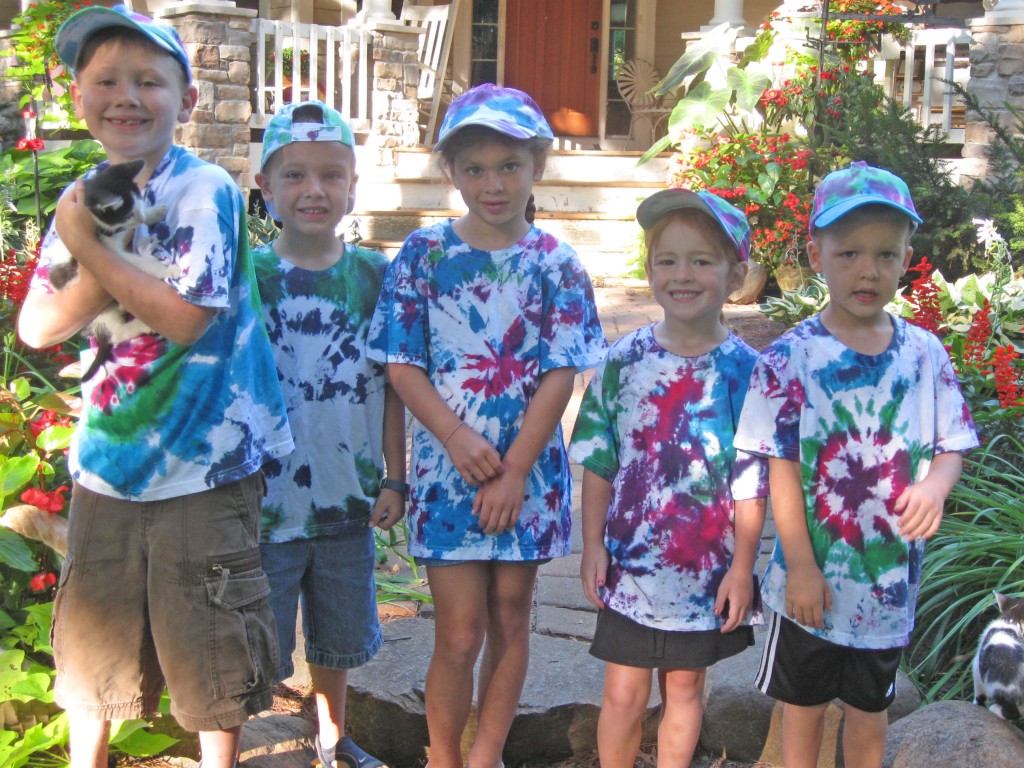
 

Looking good!

The Bible lesson centered on the verse in Proverbs 6: 6 that talks about the ant. “Go to the ant, consider its ways and be wise! It has no commander, no overseer or ruler, yet it stores its provisions in summer and gathers its food at harvest.”  Since “critters” was the theme, it seemed that learning about the ant  fit. We talked about how the ant gets along with the other ants. It doesn’t wait for someone else to do the work, but pitches in willingly. It carries more than its own body weight and is busy helping others. It became a science/Bible lesson as we read all about the ant. God wants us to get long with each other, help one another, and work willingly. The verse they learned was I Thessalonians 5:15. “Make sure nobody pays back wrong for wrong, but always try to be kind to each other.”

The kids made ants out of polymer clay and baked them. Other critters were also made.
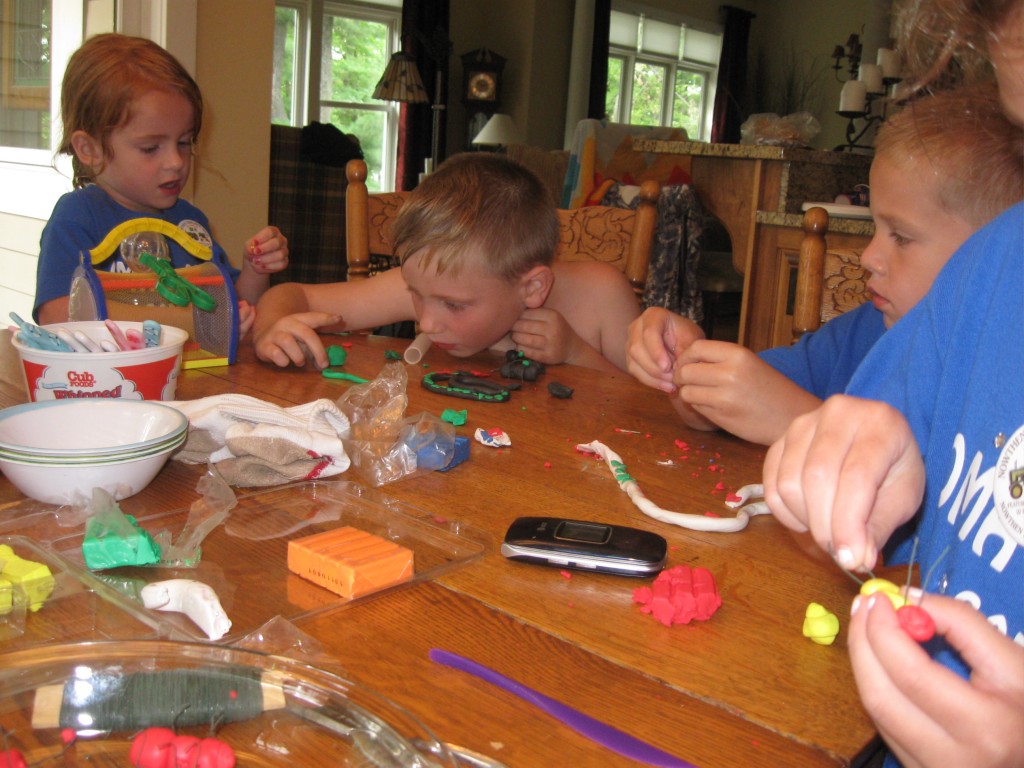
We also took part of a day and went to a Threshing Show. They had lots of great things for kids to do and see.  At the end of the time together, it is always hard to say good-bye. Now we wait for Oma and Opa Camp 2012!
Posted in Kid's Camp, Oma and Opa Camp 2011 | Tagged , , , , , , , , , , , , , , , , , , , , , , , , , , , , , , , , | Leave a comment

4th of July t-shirts

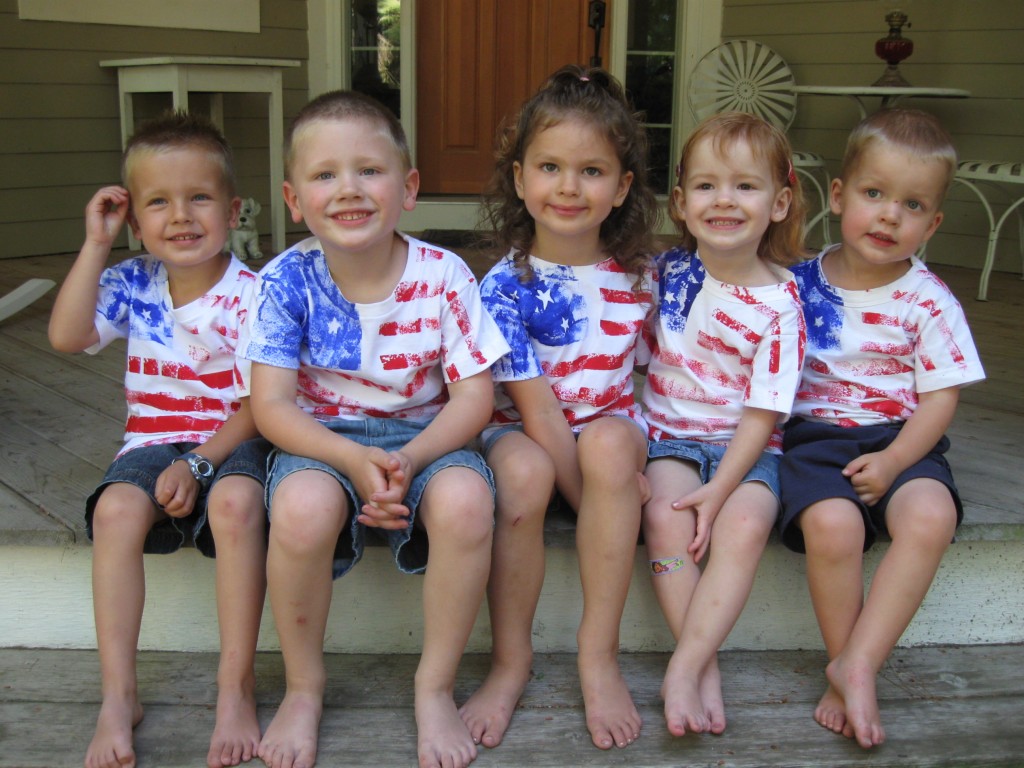
Before the 4th of July, my grandkids made these T-shirts and then wore them on the day of celebration. It was an easy project for preschoolers and they were very proud of their creations.  Each one looked great! The idea came from Family Fun magazine.
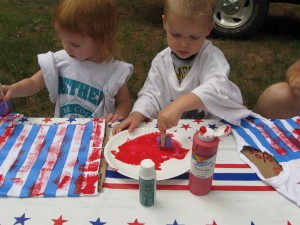
To start, tape off the stripes evenly across with masking tape or painter’s tape. (I did this for them before hand). The taped areas will stay white. I ,also, taped off a square area in one corner for the stars.  You can cut out stars using masking tape, stickers or contact paper. Stick them on the area where you want them.  Before painting, be sure to line T-shirt with newspaper so the paint doesn’t bleed through the other side. Have the kids dab over the areas with red (for the stripes) and blue ( for the star area) paint.  When the paint is dry, just remove the tape.

Your project doesn’t need to look like the flag. It can just be any combination of red, white and blue. I used sponge  brushes and let the kids have at it. The kids dabbed the paint on with the brush as the area doesn’t need to be totally covered with paint to look good! Follow the manufacturer’s directions on the fabric paint to set the design.  Be sure to use a paint shirt!


 THEY LOOK GREAT!


Posted in 4th of July, T-Shirt Ideas | Tagged , , , , , , , , , , , , , , , , , , , , , , | Leave a comment

Oma and Opa Camp 2009

2009 was my first year of doing an Oma and Opa Camp (Grandma and Grandpa Camp) so I started quite simple.  With ages 4-6 (all 5 kids) the crafts and activities had to be easily done with little help from me.

“Rules”: The first thing to do is set up expectations and routines. Explain that this is not their “house”, but it is a camp. Explain directions and expectations before each activity, meal and field trip. Even bedtime routines were set-up so they didn’t feel bad if it wasn’t exactly like what mom and dad did at home. Think everything through because it can get out of hand with 5 kids trying to brush their teeth at the same time (just one example).

Organization of Things:To keep some order of their shoes, clothes, crafts, pj’s, etc., I set up an area where each has a chair with their name on it. Under their chair go their shoes. On the chair, they keep their crafts. Over the back of the chair go their clothes, pj’s so they know where to find them. This way, I’m not running around trying to find their things.Another idea would be to use a laundry basket for each one.

Field Trip:The theme for the first camp was “Fish”.  We went to the Underwater Aquarium at the Mall of America to see all the different fish. They loved it and always ask when we are going to do it again.

T-Shirts: I get T-shirts printed with “Oma and Opa Camp” . It makes it easy to see where they are in a crowd. Many people comment on them at the different places we go. Hint: Order them a little big so they can wear them for 2 years.

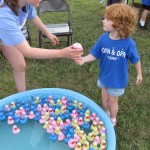
Games and Activities:  We did a fish toss

The Fish Toss

Fish Toss Game

with the spiny fish balls. Magnet fishing was another game. We live on a small lake so each child had a net and tried to catch as many minnows as they could. During their baths they fished with a plastic rod in the tub.

Crafts: We made ocean scenes by painting a blue background with watercolor paints and then used foam fish to stick in the ocean picture.  A simple cutout of a fish shape was given to each child and they glued tissue paper overlapping to make a colorful fish.

Story:  Everyone got in their PJ’s and put their clothes on their marked chair and gathered together in a circle on the floor. There we talked about the day, sang, told the Bible story and prayed before they went off to bed. The Bible story was of Jesus and his disciples. We talked about how he called them (they were fishermen) to follow Him. We also talked about how Jesus wants us to follow Him as well.

Toys: Keep toys catagorized in tubs. When they want to play with something, it is easy to take out a tub and then put it back when something else is requested. Some of the tubs I have are: princess, legos, pirates, farm, cars, robots, action figures, barbies, playhouse etc. I can change them easily as they grow older. Garage sales are great for finding new things.

Songs: This is a great way to fill the time while riding in a car. I made up words for an Oma and Opa Camp song sung to the tune of “London Bridge”. It goes….We take trips and learn new things, Play in sand, Lake and sun, With our cousins we have fun, At Oma and Opa Camp! I also have CD’s of kid’s Christian music and they love to sing it out!

PhotoBook Memories: A few weeks after camp, each child gets their own photobook of everything that we did together. I make sure that photos of each child is on every page. These are cherished books and are looked through many times throughout the year.

Here are some of the sites I use for Photobooks….

www.snapfish.com ,  www.winkflash.com , www.picaboo.com , www.shutterfly.com , www.artscow.com

Whatever is planned for your grandkids they will love. It doesn’t have to be elaborate just give them the gift of your time!

Happy Memories!


Posted in Kid's Camp, Oma and Opa Camp 2009 | Tagged , , , , , , , , , , , , , , , , , , , , | Leave a comment

Thanksgiving

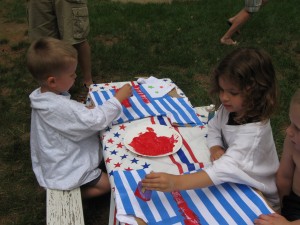
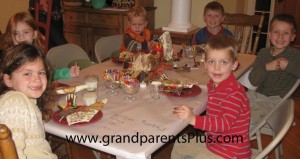
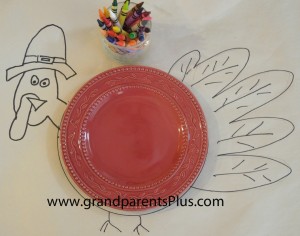
When Thanksgiving is at our house, we need two tables. One table is for the adults and one  for the grandchildren. They are now old enough to manage by themselves and they are within reach if help is needed. The kid table is set with them in mind.  I use either butcher paper or white paper and tape it to the tabletop. At each child’s place-setting, I use a dessert size plate and trace around it (circle) and add a turkey head, feathers and feet. At each place, there are color crayons to decorate their turkey as they wish.This keeps them busy while waiting for their food and when they are done, they can continue coloring. It gives the adults time for their meal.

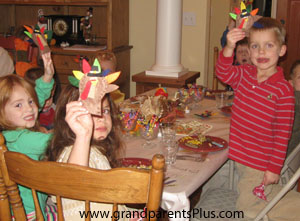
Colorful turkey Tootsie pop holders were made by my daughter. They were at everyone’s place. Directions can be found on the Turkey Tootsie Pop Holders Post.

This was the place setting for each child.

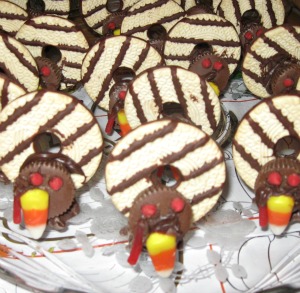
Dessert consisted of the usual pies, but also turkey cookies which the kids had help me make before the meal. We used fudge-striped cookies and small peanut butter cups (actually they were from Wal-Mart and had carmel inside but they were the same shape). Items used were: candy corn for the beak, red hots for the eyes (or a small cherry chip) and  a small piece from Twizzler Pull-Aparts for the wattle. Everything was “glued” with melted chocolate chips as it sat on a chocolate star drop. The kids age 5 and up were able to put these together.

Turkey Game:

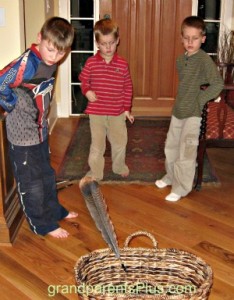
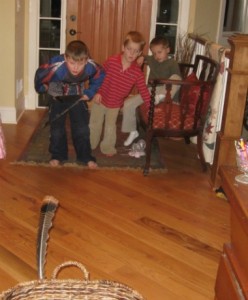
After dinner we had a “Turkey Feather Toss”. I got this idea from the Family Fun Magazine. It said to tape a weight to the end of the feather. My husband taped a nail that had a head to the end of the feather and it worked great! All ages could take part in this one. We just moved the basket a little closer for the younger children.


If you don’t have turkey feathers, use pheasant. (probably available where they sell artificial flowers).

Of course, I captured memories via photos and made a photo book of Thanksgiving.  I sent one to each child at a later date. It was a wonderful Thanksgiving together and perhaps some of these ideas could be used by you at your celebration of giving thanks to  God!


Posted in Holidays, Thanksgiving | Leave a comment