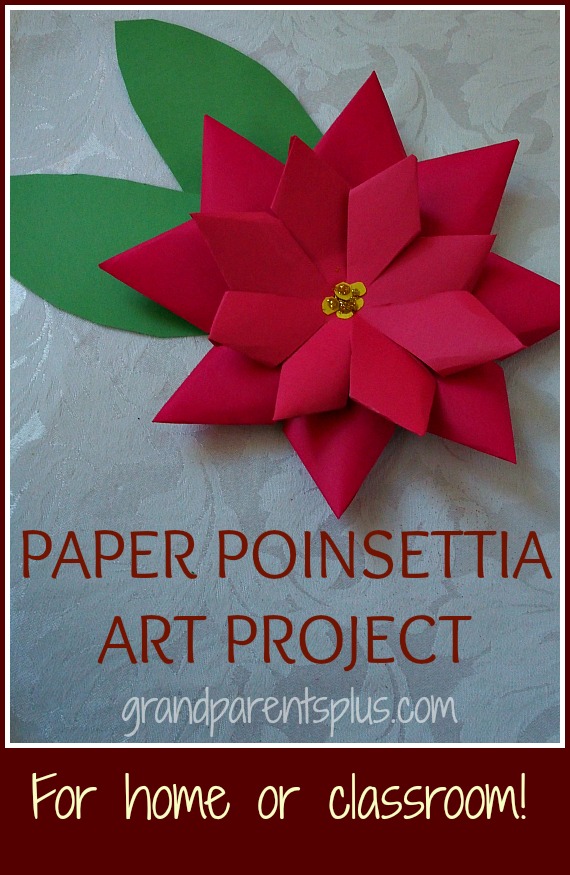
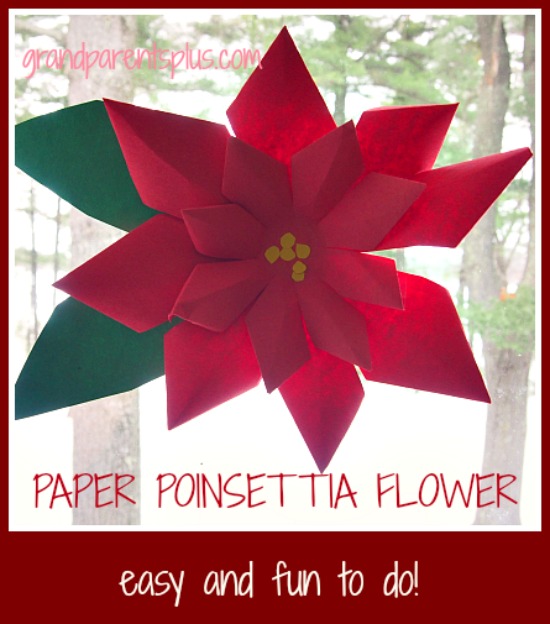
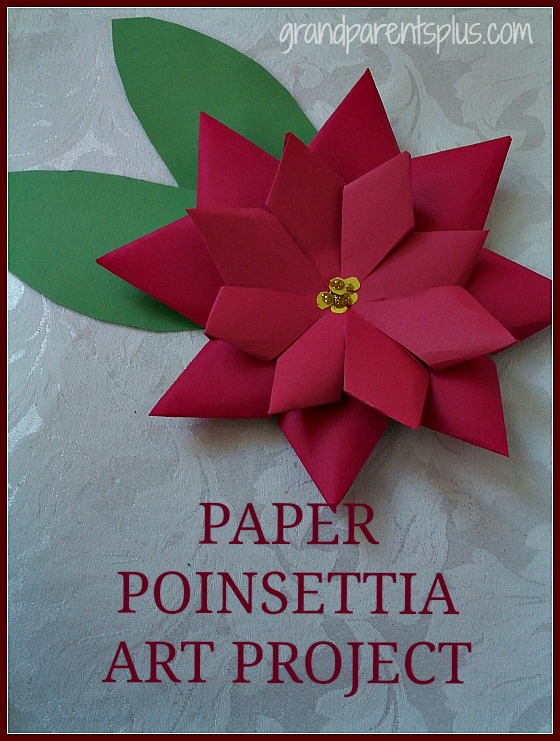
This Paper Poinsettia Art Project is very do-able for elementary children. Nothing about this is hard. The important part is to fold the petals to a point.It looks great as a tree decoration (when made small), package decoration, bulletin board decor, and window decoration Wherever you use them,they look lovely and appear more difficult to make than they actually are.
Paper Poinsettia Art Project Directions:
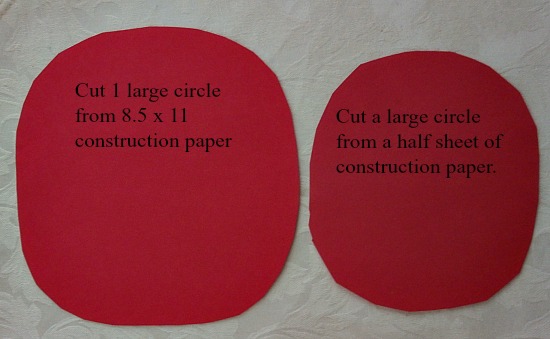
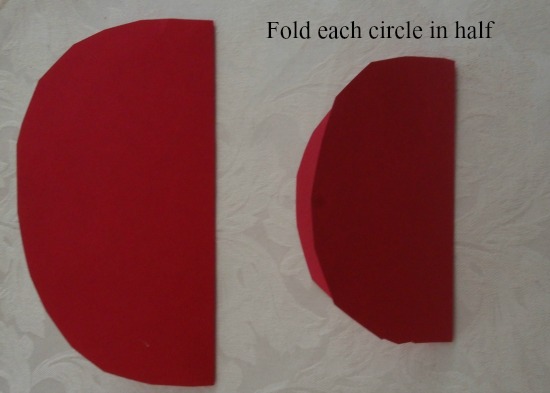
1.Use two pieces of red construction paper. Cut one large circle out of one piece. Fold the other piece in half and use only one half sheet to cut another circle. Make these circles as large as you can make them out of that size paper.
2. Fold once…
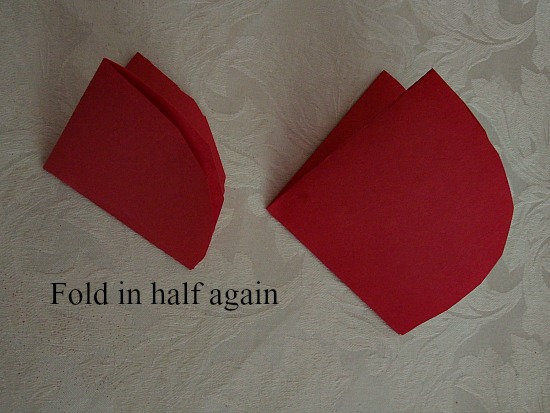
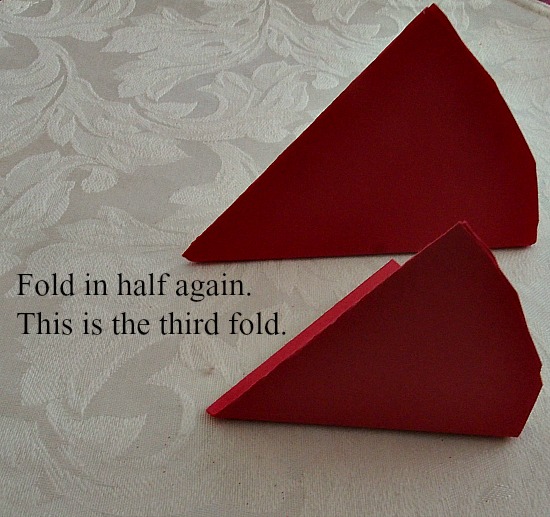
3. Twice….
4. Three times!
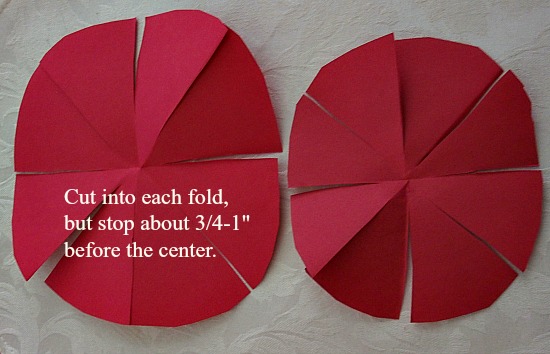
5. Now cut on the folded lines from the outside of the circle and stop 3/4 to 1 inch before reaching the center.
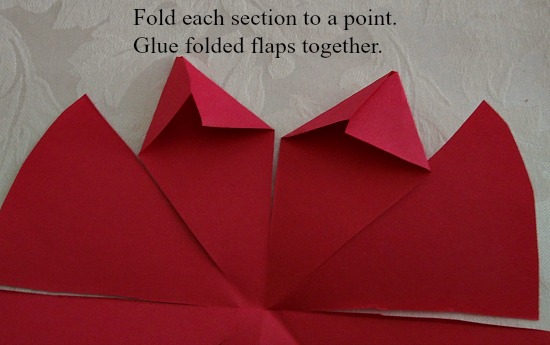
6. From the outside edge, fold each piece to a point and glue the folded flaps together….
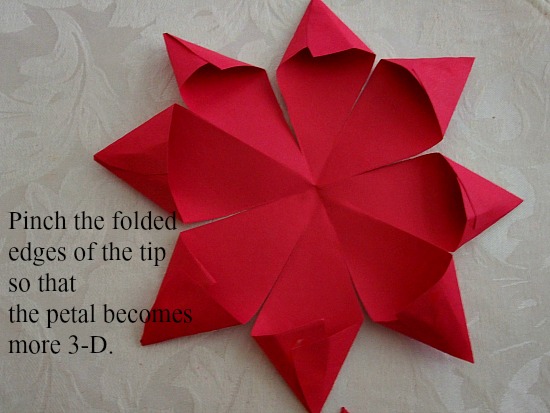
7. Put your finger inside the glued area to pinch it out and give it dimension.
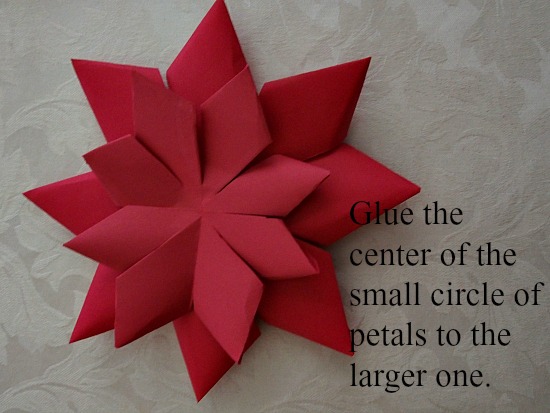
8. When finished with both sizes, glue the small one to the center of the larger flower.
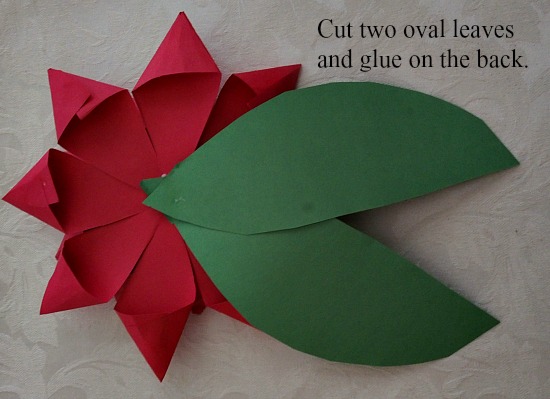
9. Cut leaves and glue to the backside.
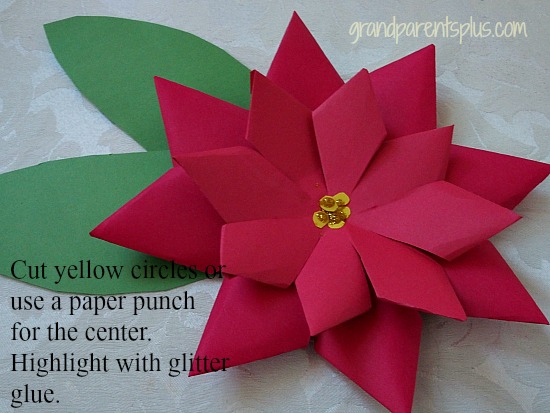
10. Cut small yellow circles from construction paper, glue in the center, and add some sparkle. A paper punch works well for this, too.
Now, you’re done!
The flower sizes are variable. Small ones look great on a homemade card, but are harder for children to make due to the size. The larger ones are easier and look beautiful on a package! They, also, look great on a wreath or as a table decoration.
These are so easy and fun to make! You’ll want to make several.
Enjoy!
Phyllis
Subscribe on the sidebar knowing that your email is never sold or shared!
Follow on Pinterest, too!
linked to these parties…
26 Responses to Paper Poinsettia Art Project