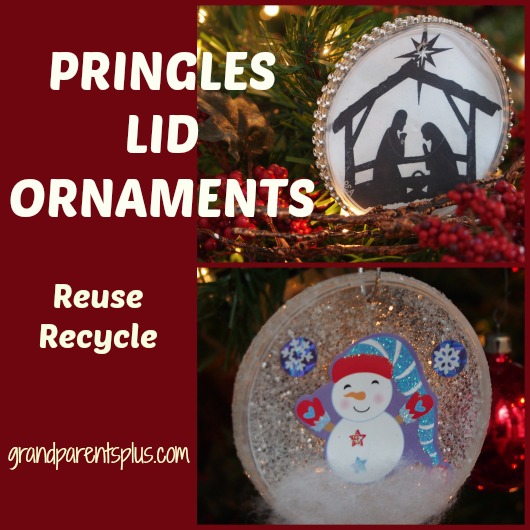
This is not an advertisement for Pringles, but when I saw those clear lids, I knew that they would be perfect recycled as Pringles Lid Ornaments. With kids bringing them for snack time at school, it is not hard to collect a few to try. One idea is a bit more difficult for young kids, but the snowman sticker idea is very easy for them to do. It’s a great way to emphasize reuse and recycle! These would be perfect for a classroom project, too. I’m posting this early enough to collect those lids.
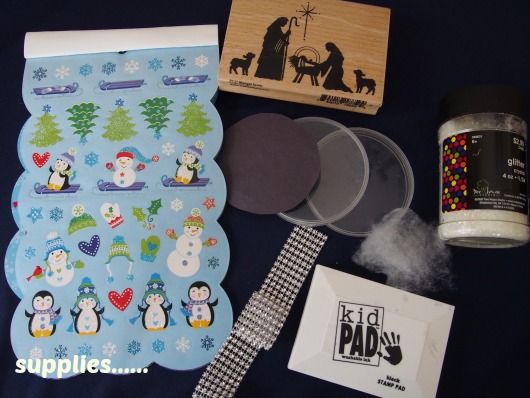
These are some of the supplies I used….. Add to this tacky glue (a glue that sticks to plastic) along with string or ribbon for hanging.
I used lids from a can of Pringles. (With a snack-sized can, they get eaten faster so you have more lids.) Make sure they are clean and wiped dry.
Winter Scene Ornament:
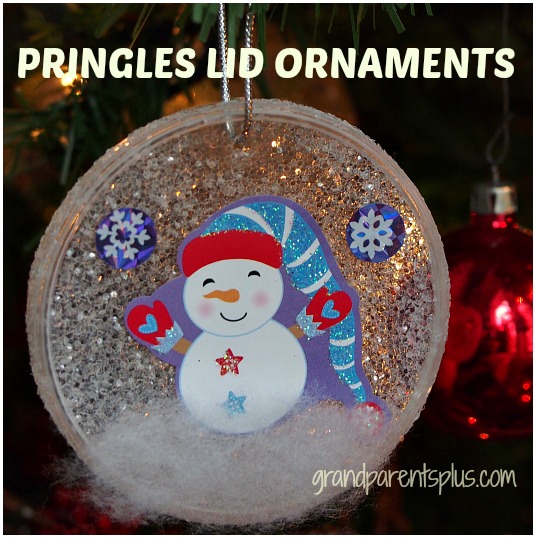
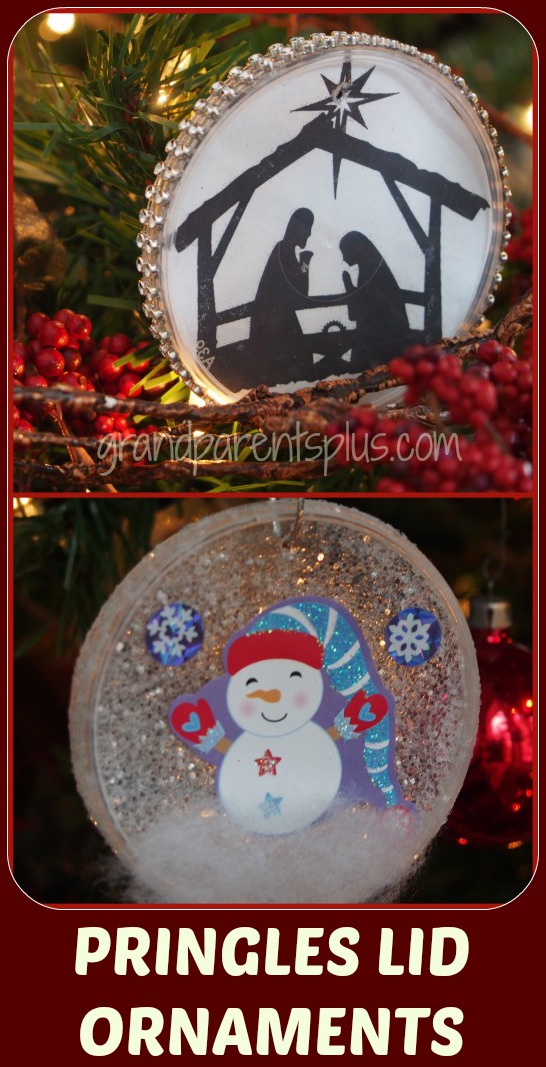
For the sticker version (snowman), Cover the inside of the lid completely with tacky glue. Over a box, sprinkle the glitter into the lid and let dry. (the glitter I used was Crystal) Make several as kids can easily do more than one.
When dry, cover the edge with tacky glue and roll in the glitter. Let dry.
Add stickers to the flat front. Add a little “snow”. (cotton) Hint: cut the stickers out so that kids can see where to place them before removing the backing.
The stickers can be of any Christmas scene. Just make sure they are the right size for the lid.
Punch a small hole on top and add a string or wire hanger.
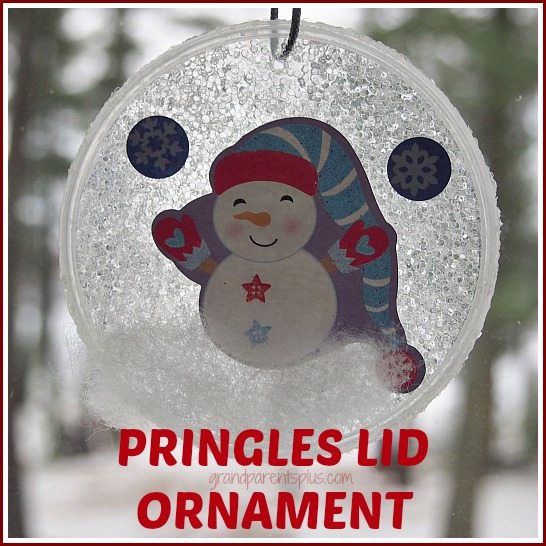
Looks great hanging in a window, too!
Nativity Ornament:
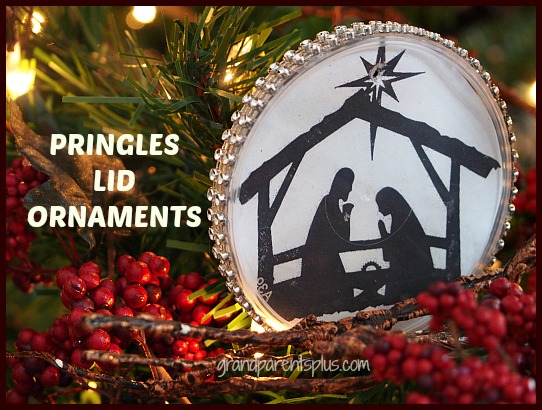
I made this Pringles Lid Ornament by stamping or downloading a Christmas scene. I had a Nativity stamp, stamped it on a white sheet of paper, and reduced the picture down so it would fit in the Pringles lid. The one pictured is from a free clip art site that I had in my files.
I made copies of the reduced clip art and stamped image so it just needed to be cut out. Older kids can do the stamping themselves on a separate piece of paper as long as the stamp size works for the lid.
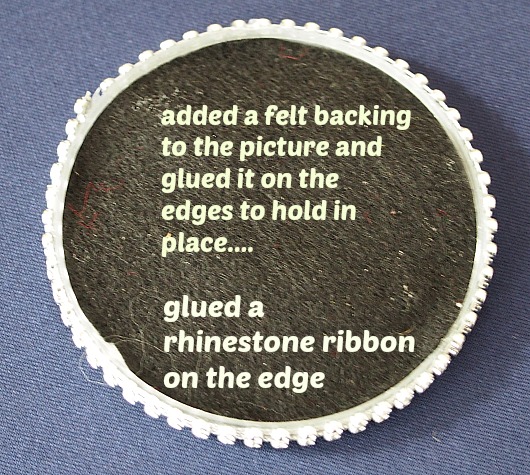
Don’t glue on the inside of this lid. Simply cut out and place the picture inside facing the front. (no glue) Remember, that the inside circle size is different from the outside. Your picture may need some trimming. (approx. 7.5 cm diameter) Cut a piece of felt or other paper and make a backing. After the picture is in place, add the felt backing and glue around the sides to hold it in.
Finish the edge with ribbon or a rhinestone ribbon {cut two sections wide) and be sure to use a glue that will hold on plastic. (regular school glue doesn’t work)
Pringles Lid Ornaments are a fun, easy, inexpensive, and look fantastic! Kids will want to make more than one! (Adults, too!)
Enjoy!
Phyllis
Don’t miss a post – subscribe! Your email is never sold or shared!
Follow on Pinterest, too.

8 Responses to Pringles Lid Ornaments