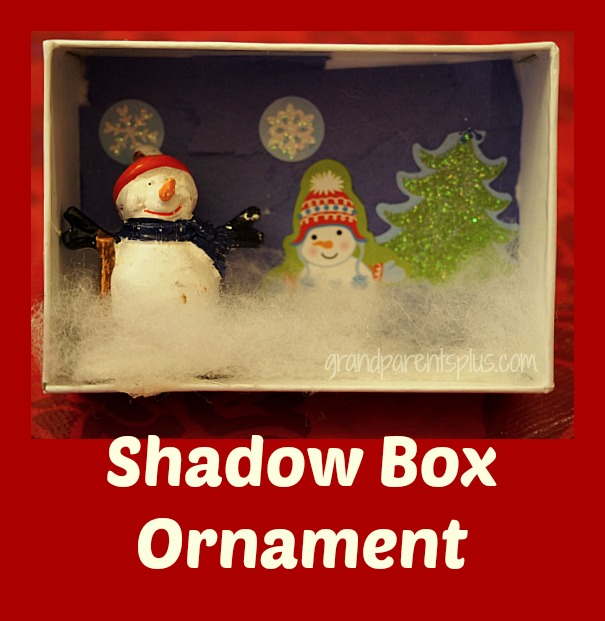
Don’t throw away those little jewelry boxes! They make such cute Shadow Box Ornaments. Use both the lid and the actual box for these 3-D ornament scenes. Using their imagination and a few supplies, each one turns out different, but so cute! This is a great project for either school or home.
Materials Needed:
Small jewelry boxes (you can buy these at Michael’s or ask in the jewelry department of a large store)
Fiberfill for snow
Small resin figures: (I’ve seen them at the Dollar Tree and Walmart)
Construction paper: blue or black (for a night scene)
Winter stickers: (I found a book for $1.00 at a dollar store)
Glue gun and Tacky Glue
String or ribbon for hanging ornament
Glitter – Optional
Directions for the Shadow Box Ornament:
Let kids picked one resin or plastic figure for the box. Then, create a scene to work with that figure.
First, cut or tear construction paper to fit the back of the box. Kids can trace the box or tear paper and fill it in. By tearing the paper, it gives some texture, but either way is fine.
Then, add background stickers of snowflakes, trees, snowmen, or whatever fits the scene.
Next, glue the figure in place and add snow with tacky glue.
Decorate the edges of box with glitter or stickers.
Finally, attach string or ribbon to hang with hot glue.
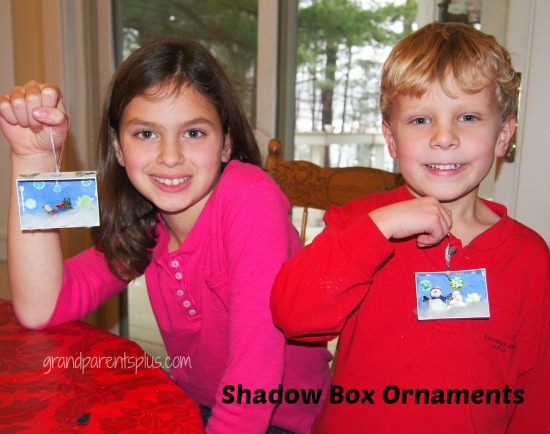
One grandchild made a snowman scene and the other made a sledding scene. For the sledding scene she glued the figure at a slant going down the hill! They loved making their Shadow Box Ornaments.
When you use the lid, just make the scene with a character that fits the depth. They still look cute!
Have fun!
Phyllis
By subscribing, you won’t miss an idea or recipe and your email is never shared or sold.
Follow on Pinterest, too.
linked to these parties….


3 Responses to Shadow Box Ornaments