Summer T-Shirt Ideas!
There are so many ways to make fun summer t-shirts! Summer is the perfect time to do many of these ideas outside! No mess to clean up inside! I’ve included 10+ Summer T-Shirt Ideas. Most of them are kid friendly! It is a good way to reuse a stained shirt and make it new again! Most work best if done outside, however, some ideas require less mess and are fine to do inside. So, don’t limit these ideas to just summer! (or to just t-shirts)
1. Tie Dye
This is old, but there are so many ways you can do it depending on how it is tied! Experiment with two primary colors and see how they mix to form a different color. There is an excellent site for ways to tie the shirt to create unique patterns here.

Another design for a Tie Dye Heart is here
Don’t forget you can do hats, shoes, pants, pillow cases, etc.
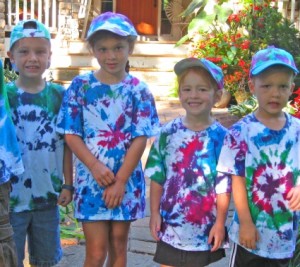
We made these shirts and hats using premixed dye. The kids loved the way they turned out!
2.Tie Dye with Permanent Markers
This is an easy method and turns out different every time. This one can be done indoors!
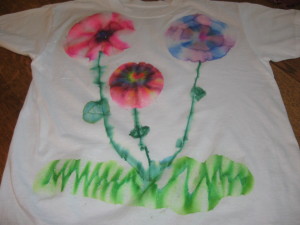
Create a special design like this….
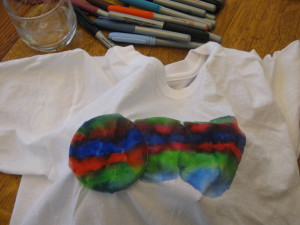
Or mix colors together to create this….
Complete directions are found on an earlier post of mine here.
3. Bleach Techniques
Here are some ideas using bleach. The first one is using a bleach pen.

Directions for the bleached shirt above are found here at The Trendy Treehouse
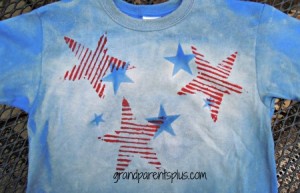
Another technique is what I used for our 4th of July shirts. The idea is easily varied to do with any theme. It uses bleach solution in a spray bottle. With proper supervision, it is easy for kids to do.
All instructions are found on an earlier post here
Red star stamps were added after the bleach technique.
4. Taped and Painted Techniques
By applying painters tape or duct tape, areas of a t-shirt are blocked off and open areas are painted.
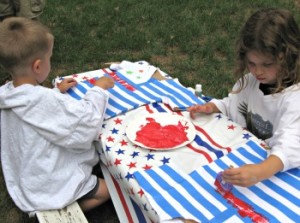
This was the method we used for a 4th of July t-shirt, but any color can be applied for a great look! Place tape diagonally, criss-cross, vertically or a combination of all for a unique look! Dab paint with sponge brushes into areas that are left uncovered. Use a variety of colors or stick to a few! Your choice!
Hint: If you have lots of acrylic paints, just add Folk Art Textile Medium to your paints to make them permanent on fabrics! No need to buy fabric paints.
5. Stamped
I love the way they use foam stickers to stamp this shirt. This opens up a multitude of possibilities. Check it out!
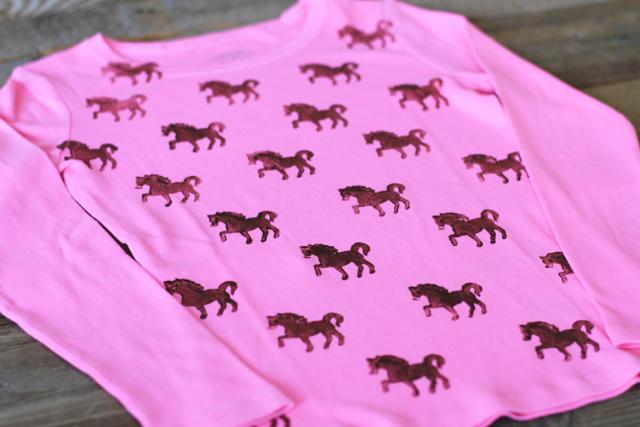
Use stamps made from corrugated cardboard as seen in the bleach technique. Stamp with fruit, veggies, etc. The possibilities are endless!
6. Glue Batik Techniques
Elementary kids can do this and come up with a unique shirt using glue and paints!

7. Coloring Book T-Shirt
This is a great idea for another t-shirt project. This can be permanently colored or by using washable markers, it can be repeated over and over with each washing! An adult or older child needs to do the first part, however.
Go to kidactivitiesblog.com for complete instructions here.
8. Sand Paper Printed

Complete instructions are found on AlphaMom.com
9. Sun Printing Technique
This technique is a bit more involved, but certainly turns out interesting! This was used on a piece of material, but is able to be done on a t-shirt as well.

Go to bloombakeandcreate.com for complete instructions.
This technique requires use of
Jacquard Dye-Na-Flow Fabric Colors
which is available through Dick Blick Art Supplies ( happens to be a sponsor of mine and ,yes, I get a little bit from them, perhaps a cup of coffee! Ha! Thanks!).
Order through their site here…. 
When doing a T-shirt, do one side at a time and be sure that you put something in between so the colors don’t bleed to the other side.
10. Stenciling Technique

Complete instructions are found at stencilrevolution.com
I have also used sponge brushes to use with stencils. Just make sure you don’t have too much paint on them!
10+ Here’s the “+”
(Remember, I said 10+?)
This next technique uses a product called Design Dye. You cut out a design from their special colored paper and iron it on to fabric. Only the color remains. The design you cut is removable and able to be used over and over again! This gives you all sorts of possibilities of making your own uniquely designed shirts, bags, napkins and pillows (just to name a few). It even works on wood!

There is no mess with this product. All you need is scissors and an iron! By overlapping a design, the colors blend together! The kit comes with pre-cut letters, too! You won’t want to throw a scrap away as every little bit can be used!
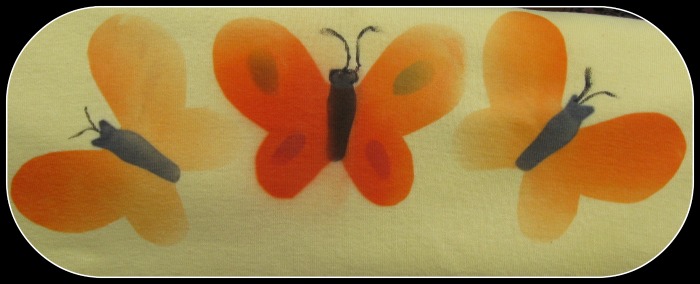
I made a simple butterfly design and found that I could easily do it three times at least. It was easier to adhere the design together before ironing. The colors were better that way. The color variation is due to how long you keep the iron on it. I liked the variations so kept it that way. Remember to always use fresh tissue as the color bleeds on it and by reusing it, you’ll get some color where you don’t want it. Making some special onesies for a baby shower would make a great gift!. Use white or a light colors with this product for the best outcome.
Check out this technique here at Design Dye!
Now comes the creative part!
All these Summer T-shirt Ideas can be combined. Combine the bleach technique with the stencil or stamping! Combine the crayon technique with the bleached shirt! OR… Combine the Tie Dye with a stencil! Combine the bleach technique on light colors with the Design Dye. You see, there are endless ways to make your shirt unique! Hope this gives you some great summer t-shirt ideas to try on your own! Don’t limit them to just summer as many can be done indoors year round.
All of these same ideas would be great on a bag, pillow case, hat or skirt or whatever!
Now, off to the thrift store to find some items to make new again!
Which one will you try?
Have fun!
Phyllis (Oma)
I’d love to have you subscribe to future posts or follow on Pinterest or Bloglovin’ ! Thanks!
This post is linked to these fabulous parties….
Disclosure statement:
This blog is a personal blog written and edited by me. I take pride in giving my honest opinion and assessment of all the products that are submitted to me and experiences I may be given. I reserve the right to opt out of publishing a review if I do not feel that I can be fair about my opinion.
As the owner of this blog, I may accept forms of cash advertising, or sponsorship. Any compensation received will never influence the content, topics or posts made in this blog..
I believe in honesty and integrity therefore I will always give my personal opinion-whether or not it shows a product or company in a favorable light. Compensation received may influence the advertising content, topics or posts made in this blog. That content, advertising space or post will be clearly identified as paid or sponsored content.
The views and opinions expressed in this blog are purely and entirely my own. I do not claim to be nor make an effort to be an expert on a certain topic, product or service. I will only endorse companies, products and services that I believe, based on my own experiences, are worthy of endorsement. All product or service claims should be verified with the manufacturer or provider.


Pingback: Bowdabra Feature Friday End of Summer and Back To School Projects - Bowdabra Blog