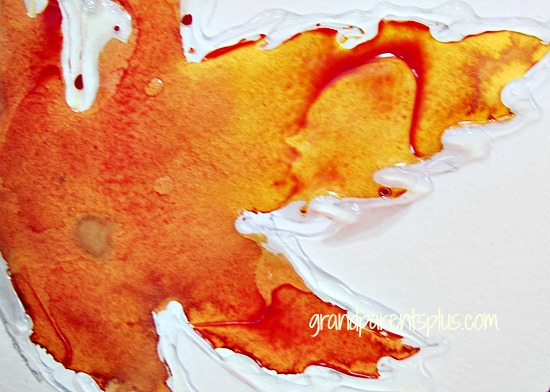
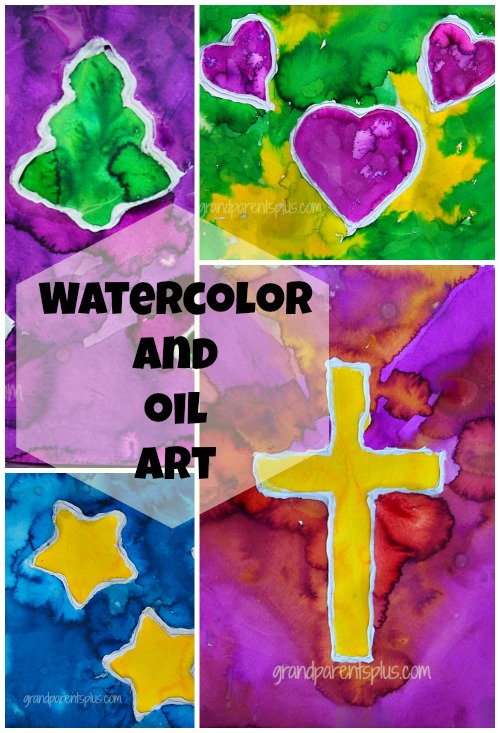
Watercolor and Oil Art explores a science fact in a very fun and colorful way. Oil and water don’t mix, you see, so you’ll have interesting things happen with your art project. It’s so exciting to see how oil makes waves and moves the color. By using a glue gun, you can design shapes or squiggles that make a design among the melding colors.
Using just liquid watercolors, a glue gun, and oil, you never know just what you’ll end up with for color variations. It’s fun to watch. Change this project for any holiday theme or design you would like to use. This is one art project that can be done over and over again. It will never turn out the same. Use your imagination and try different combinations.
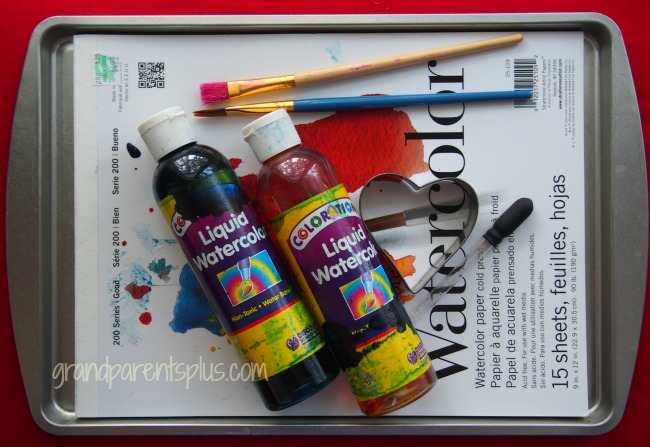
The materials include: Watercolor Paper, Glue Gun, Liquid Watercolors, Brushes, Vegetable Oil, tray (optional), and Eye Dropper.
Here’s an easy way to keep this project from getting messy. I bought 9×13 metal cookie trays at the Dollar Tree. They are the perfect size for any painting or craft project. It keeps the mess contained and if things need to dry, you can just dry them right on the trays. For this watercolor project, they can be stacked to dry by placing one tray horizontal and the next vertical. I have one for each grandchild, and it sure helps to keep glitter, glue, paint, etc. all contained! When the project is done, they are easy to wash off.
Ok, now to the directions…. This project requires watercolor paper. Construction just doesn’t work well. It is better with liquid watercolors, too. If you haven’t tried them, they are very colorful and easier to use than the watercolor paint trays. Have some wider brushes to use such as small sponge brushes.
You can buy liquid watercolors from Blick Art Supplies on the sidebar.
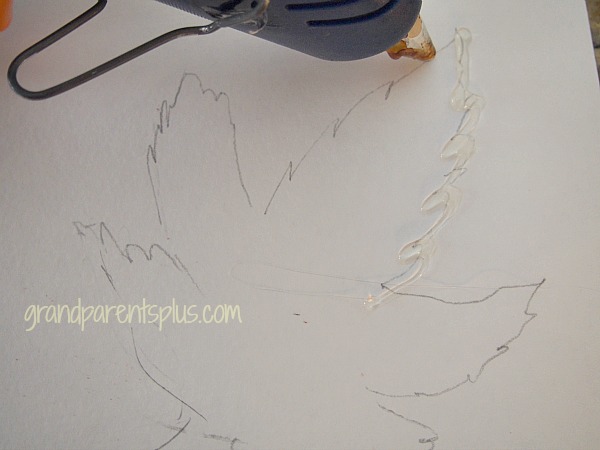
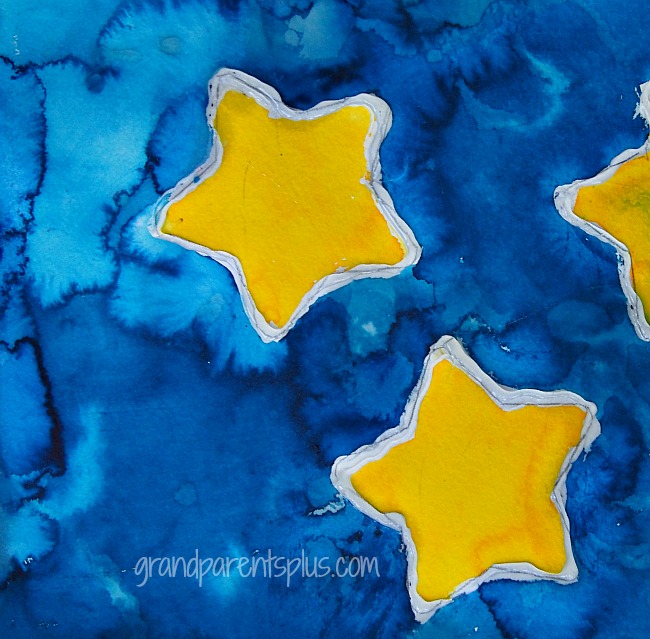
I’ve seen paintings that merely cover the entire paper, but I decided to experiment using some shapes outlined with hot glue. I liked the outcome. If you are using a shape, draw it lightly with a pencil and go over it with the glue gun. (I recommend that an adult operates the glue gun.)This will keep the shape from mixing with the other colors and it will stand out from the painting.
Continue on and paint the background.
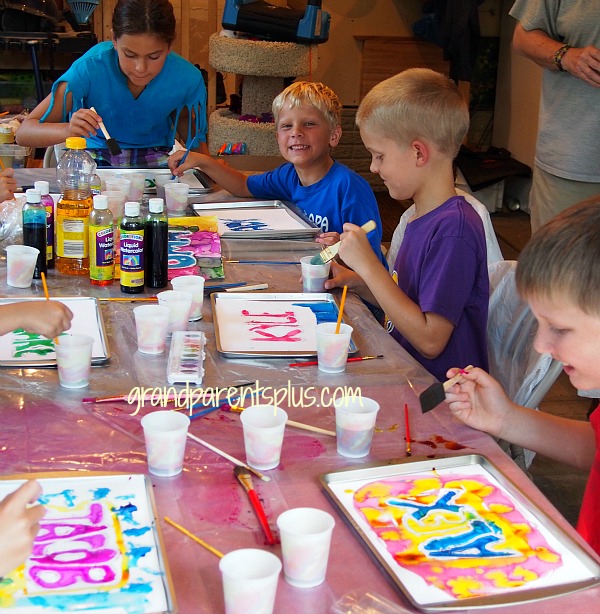
For our Oma and Opa Camp, I did the kids’ names in bubble letters with hot glue and they used liquid watercolors to make their project colorful and dotted it with oil . Even the boys got into it and thought it was “cool”!
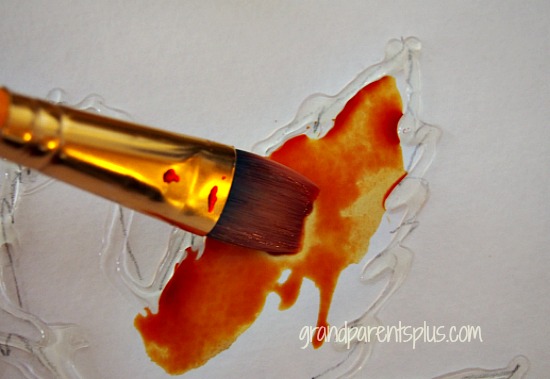
After you have painted a section, while it is still wet, drop oil in squiggles or drops, and watch it change the paint. Continue until the entire paper is painted the way you like. If the watercolors dry too much, just get them wet again with more color or spray with a little water before you drop the oil. The action will continue for a while as it dries.
Let dry for a day and enjoy your watercolor and oil art that you’ve created.
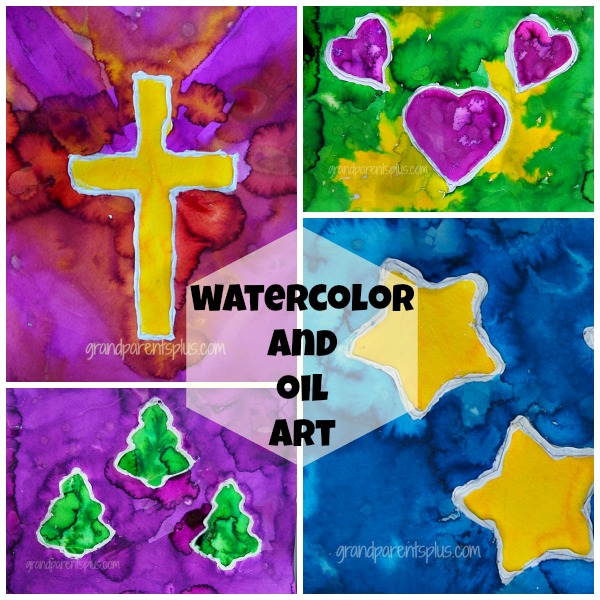
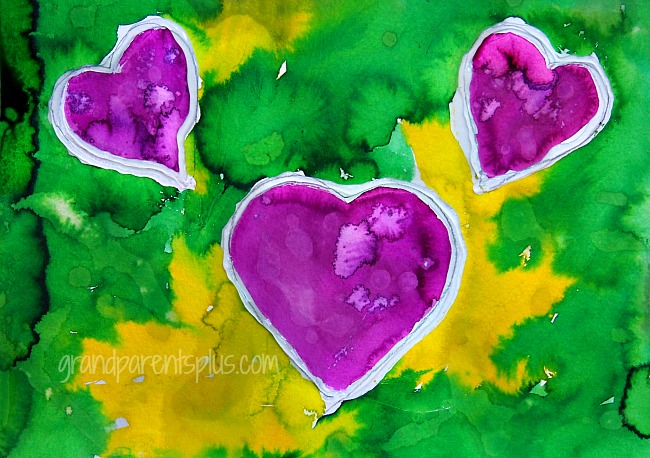
There are so many ways to vary this project. For instance, you can outline a pumpkin, stars, names, trees, bells, angels, cross, bunnies, fall leaves, and flowers, just to name a few. It is changeable for any season and the outcome is always different.
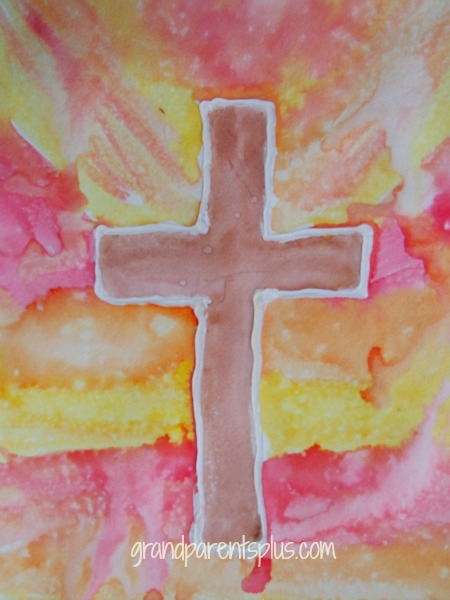
For Easter…..
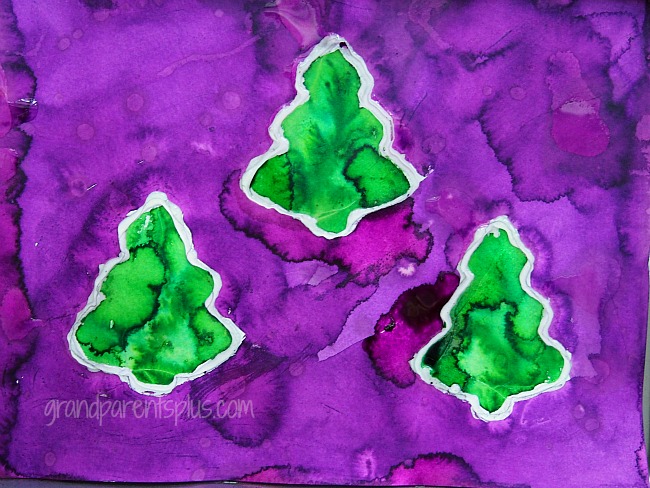
Christmas…..
The oil was also dripped on the trees above.
For Valentines…..
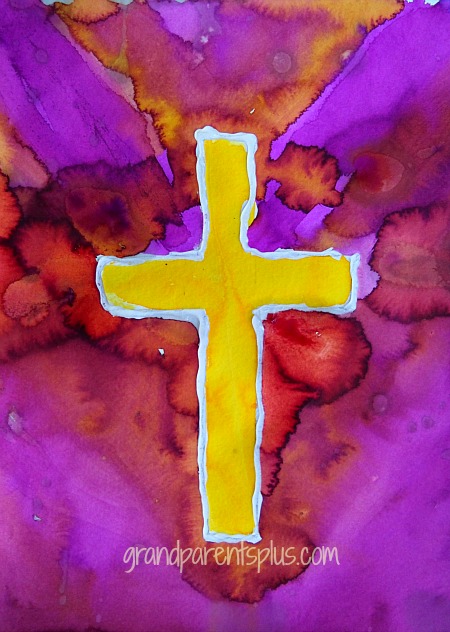
This cross was painted with the usual watercolor tray instead of the liquid watercolors. It’s not as bright and harder to get the oil action to show. You need to use very deep colors, paint it heavy with color, and still it doesn’t have the same intensity as the liquid colors.
It’s a good investment to get the liquid watercolors as they last a long time. Your kids will enjoy those bright colors! No messy watercolor trays to clean, either.
Now, what will you plan on making with your watercolor and oil art? Have fun!
Enjoy!
Phyllis
Subscribe so you don’t miss a post! Your email is never shared or sold!
Follow on Pinterest!
linked to many of these parties….

19 Responses to Watercolor and Oil Art