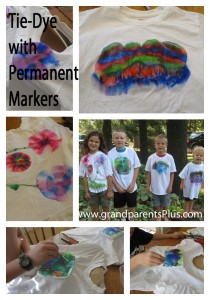
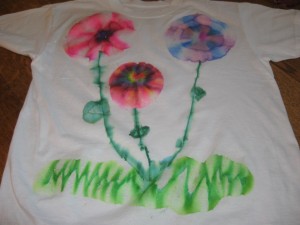
I’ve seen this idea before and it has intrigued me. I didn’t like the way it always turned out to be circles so I tried varying it for the boys sake. They didn’t want to wear “flowers” on their t-shirts so I knew I had to change it a bit.
Materials
Washed t-shirts
Rubber bands
Permanent Markers of all colors
Cups or various “tupperware-type” squares or rectangles
Cardboard or brown grocery bags
Isopropyl Rubbing Alcohol
Eye dropper
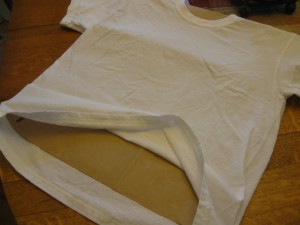
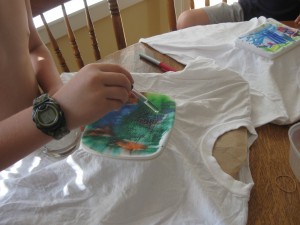
First, take the t-shirt and trace on a grocery bag. Cut out and insert inside the t-shirt so that the colors don’t bleed through.
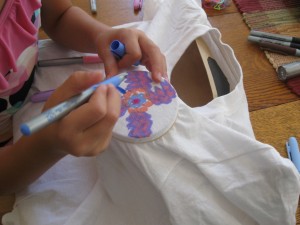
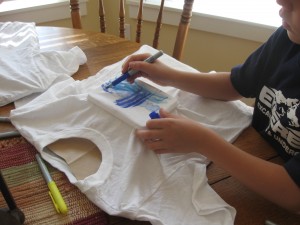
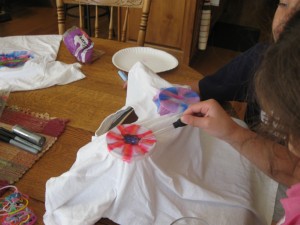
Next insert the cup or square plastic storage container inside and put rubber band over the t-shirt to hold it in place.
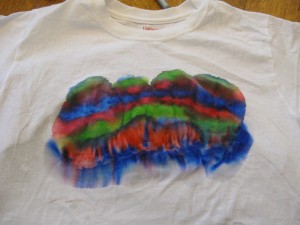
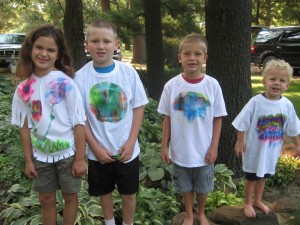
The boys liked to mix the colors randomly and it still turned out in the end. One used blues, greens, yellows and the other one used oranges, greens, and a little brown ( he wanted it camo).
After drawing all the colors, then take the eye dropper, dip into the rubbing alcohol and drop it on the colored area. Get it good and wet with the alcohol. Watch it spread and mix the colors.
If you are making a flower pattern, you can vary the size of the circles by using a different size cup or glass.
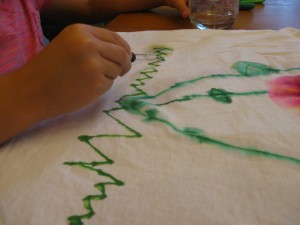
My granddaughter then added stems, leaves and grass. She also dabbed them with the rubbing alcohol and let them spread.
All of them turned out very well! Each one was unique!
I happened to have some clear spray glitter paint so we added that to the flowers when they were dry. I set the colors by ironing them with a hot iron.
Here is the group modeling their creations…
For instructions on how to make a t-shirt look fabulous like my granddaughter is wearing, check out my post on T-Shirts -“Making a Plain T-Shirt Look Fabulous” .
We may have to do this again as they enjoyed it so much!

