
My DIY Copper Drapery Rods!

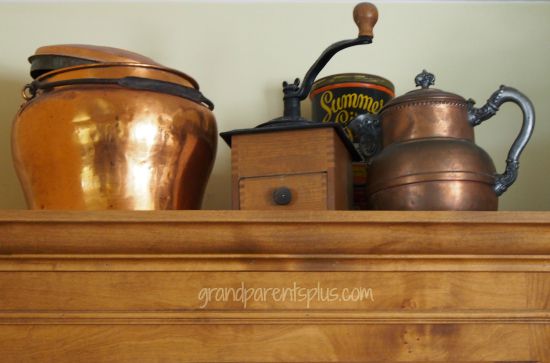
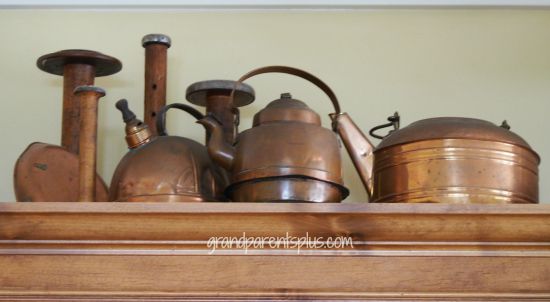
In my kitchen, I display my collection of vintage copper tea kettles and coffee pots above the cupboards. I like the patina the copper gets as it ages. While wondering what I was going to do about drapery rods in the kitchen, I got the idea of looking into using copper drapery rods to coördinate with my vintage copper accents!
Here’s a sample of two of the areas above the cupboards where I display my copper pots.
I looked online, but what I found was a fake copper finish and not real copper plus they were expensive. So, I went to my local home hardware store to see what they had for copper pipe that might work.
One problem I had to work around was that the windows were at a 45 degree angle to each other. There was not enough room to put two rod holders in that area. I needed something with a 45 degree angle to tie the two areas together. A custom rod was too expensive.
Also, I wanted to hide that the windows were not centered on each wall when they built the house. That has always bothered me so I hoped that the final product would hide that flaw. (why don’t builders think of those things?)
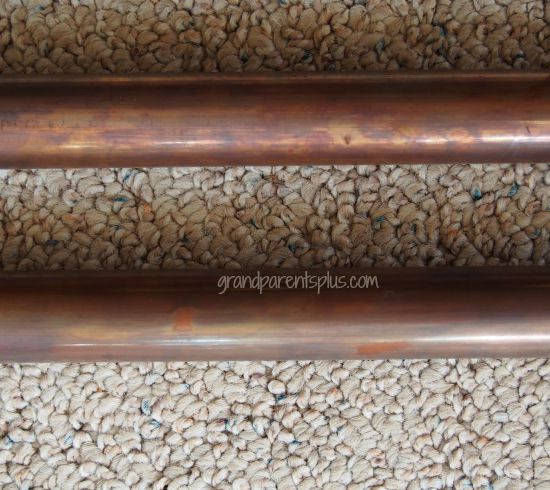
Deciding to use the copper pipe, but not wanting it so shiny, I researched online about how to give new copper that aged patina. I finally came up with a product that would do the trick in one application. Other ideas like hard-boiled eggs, etc. (yes, that was what one site suggested) were too complicated. The product I found is called, Liver of Sulphur Extended Life Gel. It came in a 4 oz. jar, but I only needed a small 1/2 tsp. to do all the copper. (If you need some, I’ll sell you mine. I don’t think I’ll ever use it up.) Perhaps contact someone who makes jewelry to see if they have something to give patina to the copper.
The 10 ft. length of 3/4 inch copper pipe was around $11.00. I also found a 45 degree copper fitting that would work for the bend in the wall.
The Liver of Sulphur aged the copper, but it was a bit uneven. It was hard to paint the product on a round pipe and then quick stop the aging with Baking Soda solution.
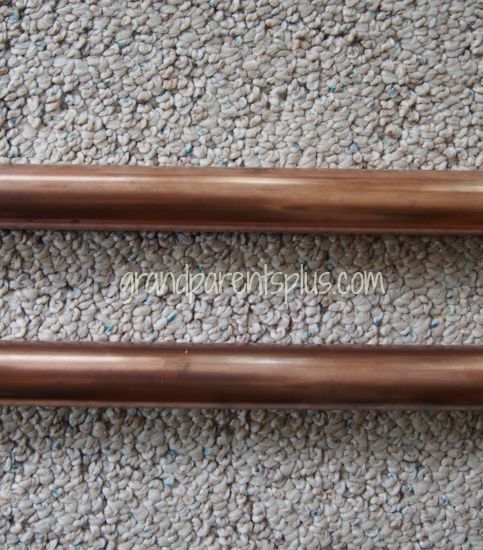
My husband took some fine steel wool and evened out the patina. Yes, perfect!
There wasn’t room to add a finial on the end so I just used copper end-caps to finish it off. My husband put the rods up with three drapery rod holders which I had painted with a copper color spray paint and it was perfect! The window placement flaws are hidden and I feel so much better about it and I love my DIY Copper Drapery Rods! They sure cost less than the standard drapery rods and far less than custom ones that were at a 45 degree angle! Total cost was around $25.00 for both windows. (not counting the Liver of Sulfur, but including drapery rod holders)

These diy copper drapery rods would go with many combinations of neutral decor as well. I am very happy with how they turned out! Have you thought of using copper pipe?
Thanks for stopping by,
Phyllis
When you subscribe on the sidebar,know that your email is never shared or sold.
Follow on Pinterest, too.
linked to these parties….
Pingback: What’d You Do This Weekend? #157 | Recipes and Ramblings with the Tumbleweed Contessa