Easy for kids to make!! 2 decorations in 1! Reversible!
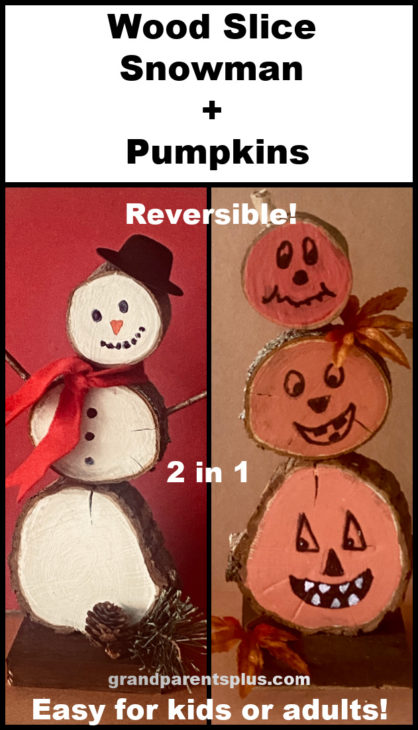
The Wood Slice Snowman and Pumpkins DIY craft is an easy, inexpensive, and fun DIY craft for adults, yet, it is adaptable and simple enough for kids, too!
I’m always looking for craft ideas that kids or adults can: 1. easily made, 2. looks good, and 3. inexpensive to do! (my three requirements) The Wood Slice Snowman and Pumpkins meet the requirements on all three counts!
Since I have a group of 20 kids (1st-5th) that I work with at church, those three requirements are very important (especially for the budget). While searching for ideas, I came across this post on The Craft Patch. I adapted it, made it easier, and kept costs down. You can certainly buy slices of wood and make it any size, but I like it low cost! How about you?
Here’s how……
First, take a walk in the woods and you’ll find lots of downed branches. It doesn’t matter if they’re different kinds of wood. In fact, the different bark textures make it interesting. Gather three branches of graduated sizes: small, medium, and large. My sizes ended up being approximately 2 1/4″, 3 1/4″, and 4″ diameter. I cut them into 1 inch slices. (a table saw works best) This is all free wood! Yea! Caution! Only adults should use the power tools! Be safe!
(If you don’t want cracking, use the product Pentacryl available at Home Depot)
No woods? Well, you can certainly buy the slices as well at crafts stores like Hobby Lobby and even Amazon! The wood slices are not 1″ thick, however.
Next, gather the materials needed.
1. Wood Slices : small, medium, and large. Mine were 2 1/4″, 3 1/4′, and 4″ diameter
2. Acrylic paint: white, orange, black, brown
3. Paint brushes: small and medium
4. Permanent Black Markers: fine and regular
5. 1/4 ” dowel cut to sizes long enough to fit into both ends of wood slices
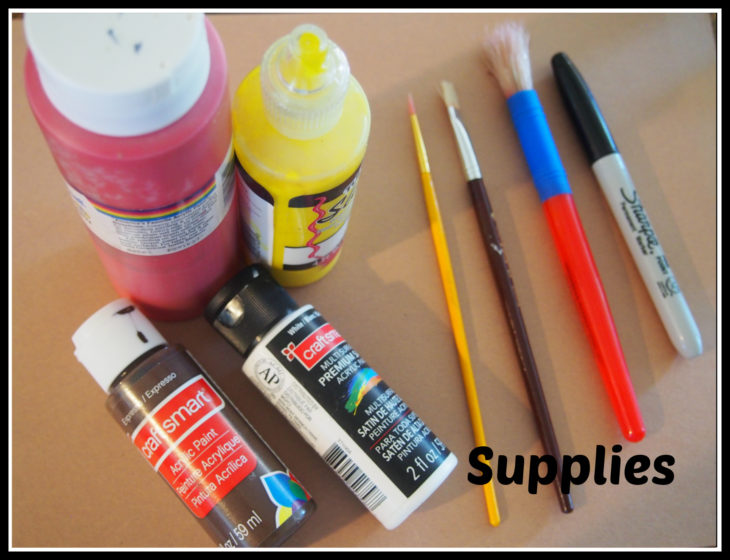
6. Drill: use bit for the size of the dowel
7. Extras:

Small felt hats for the wood slice snowman are available on Amazon. Stocking caps, socks or mitten ends work depending on the size of your project.
Red felt or plaid material cut to size for the snowman’s scarf
Add fall leaves and Christmas greenery for decoration. (optional)
Now, it is time to drill, paint, and assemble the craft! Adults need to pre-drill for the kids!
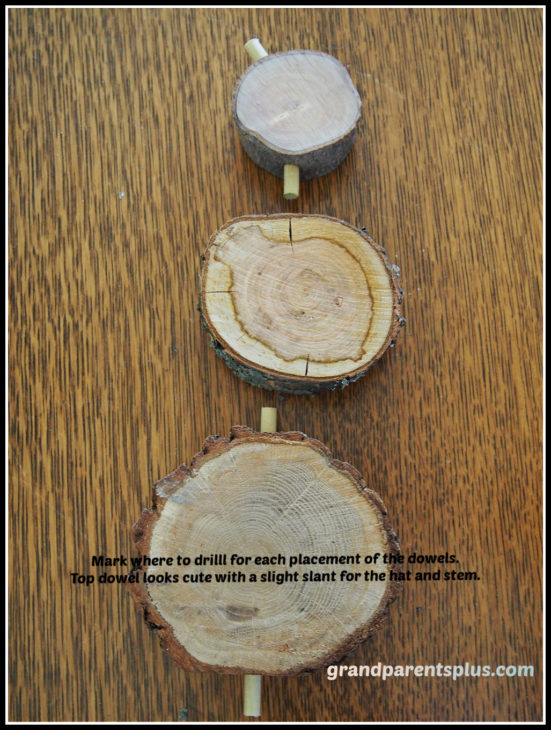
- Pre-drill the holes for the dowels to connect each wood slice and the base. Be sure to align pieces with a ruler and mark together with a pencil on how you want them to appear. On the top slice, make it a bit off center for the hat/ stem.
- Cut a wood base according to the size of your wood slices. You want a good solid base. Mine is approx. 3 x 4 inches.
- Paint wood base brown or black.
- Paint the inside of the wood slices white on one side (for the Wood Slice Snowman) Let it dry, and then paint the other side orange (for the Wood Slice Pumpkins) . It is easier to paint the wood slices when they are apart.
- When both sides are painted and dry, use a pencil to lightly mark the features you want on each side. Look at where the hole is for the dowel and use that line for the center of the faces.
- Using a permanent fine or medium marker, go over the pencil marked features for each slice. Be sure you have them in the order you want.
- When the face is completely dry, draw the features for the other side. Again, pay attention to the hole for the dowel and make that the center line for making the faces on the other side. On the snowman, make only one face on the top, small, wood slice and draw buttons on the medium wood slice.
I’ve included some links for face ideas to use for the Wood Slice Snowman and the Wood Slice Pumpkins, For kids, the best outcome is to keep it simple! If there’s a mistake, start over and paint with the acrylic again!
Check out these links for ideas…..
For the Wood Slice Snowman, add a small felt hat! I found these on Amazon on the link below.
Finally, connect the sections together with the dowels. Add a pumpkin “stem” by drilling a hole on top for another piece of dowel for the pumpkin side and use the stem to hold the felt hat when using it for the winter. This decoration can last for 5 months! Just turn it around! Display it during Sept., Oct., and Nov. with the pumpkin side, and Dec., Jan., for the Snowman! When the holidays are over, take the pieces apart and store in a plastic bag for next year.
Enjoy!
Phyllis
1 Response to Wood Slice Snowman and Pumpkins DIY Craft